Episode #2: Transplanting tomato plants with Valéry Tsimba
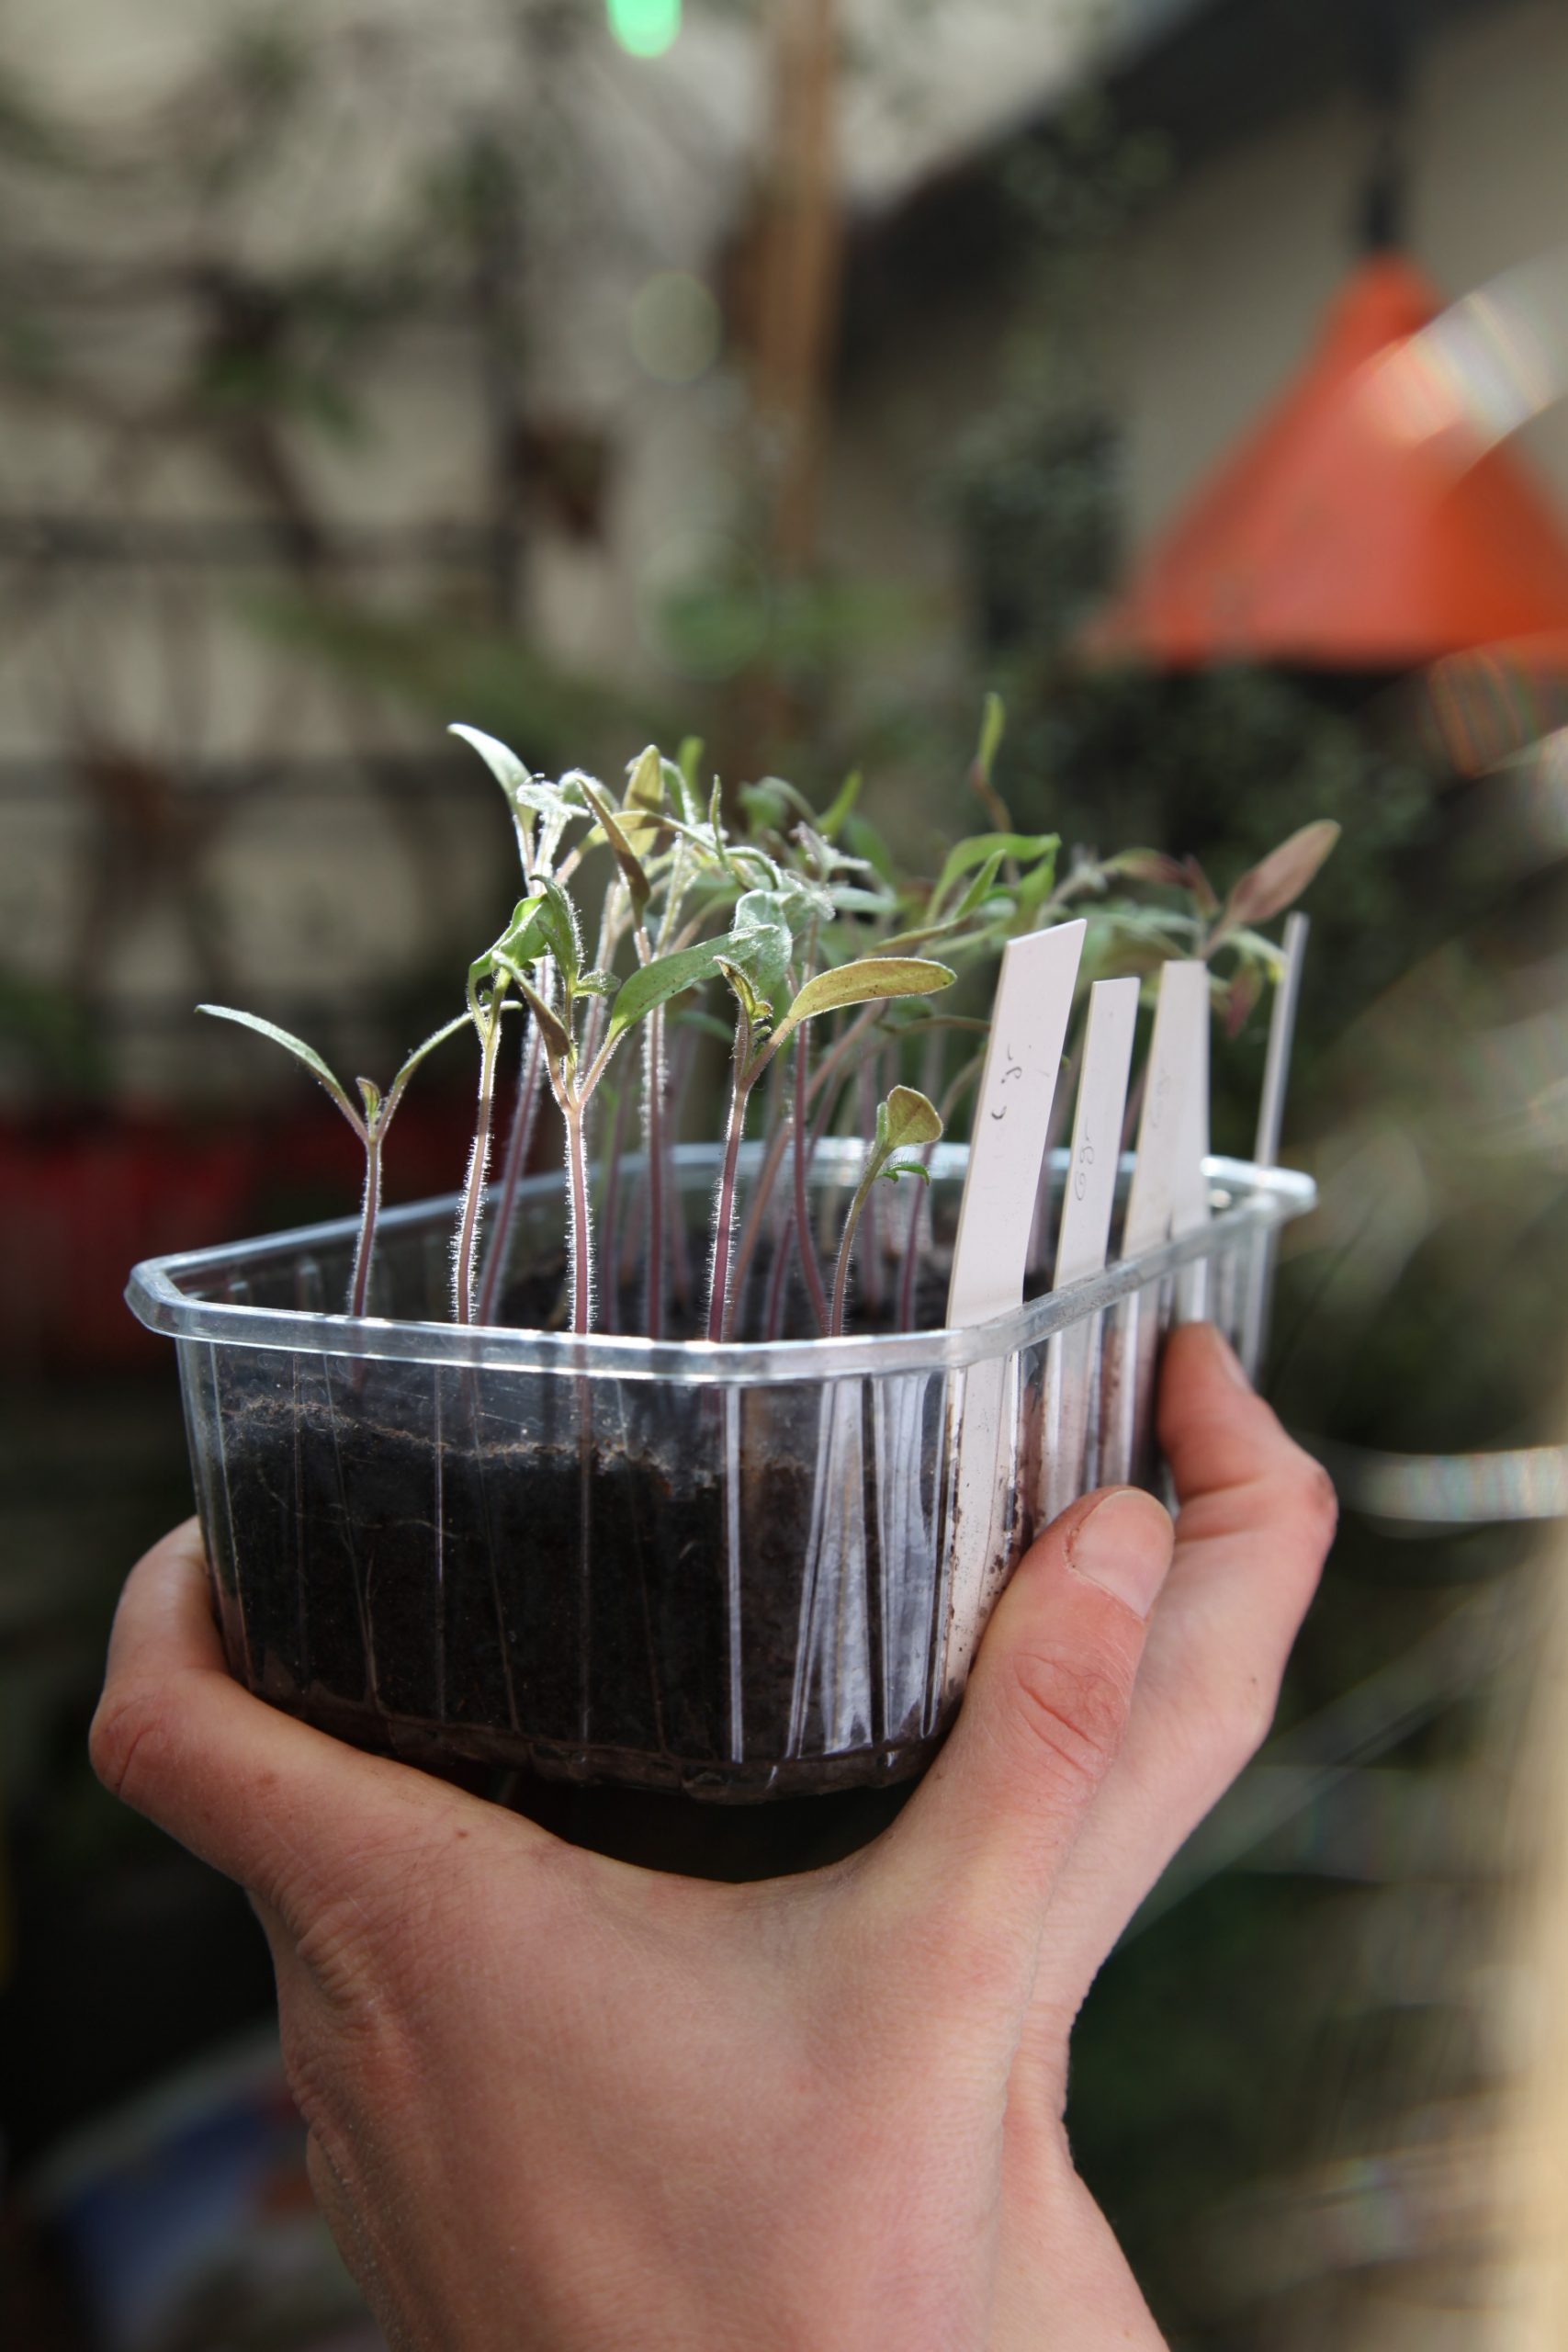
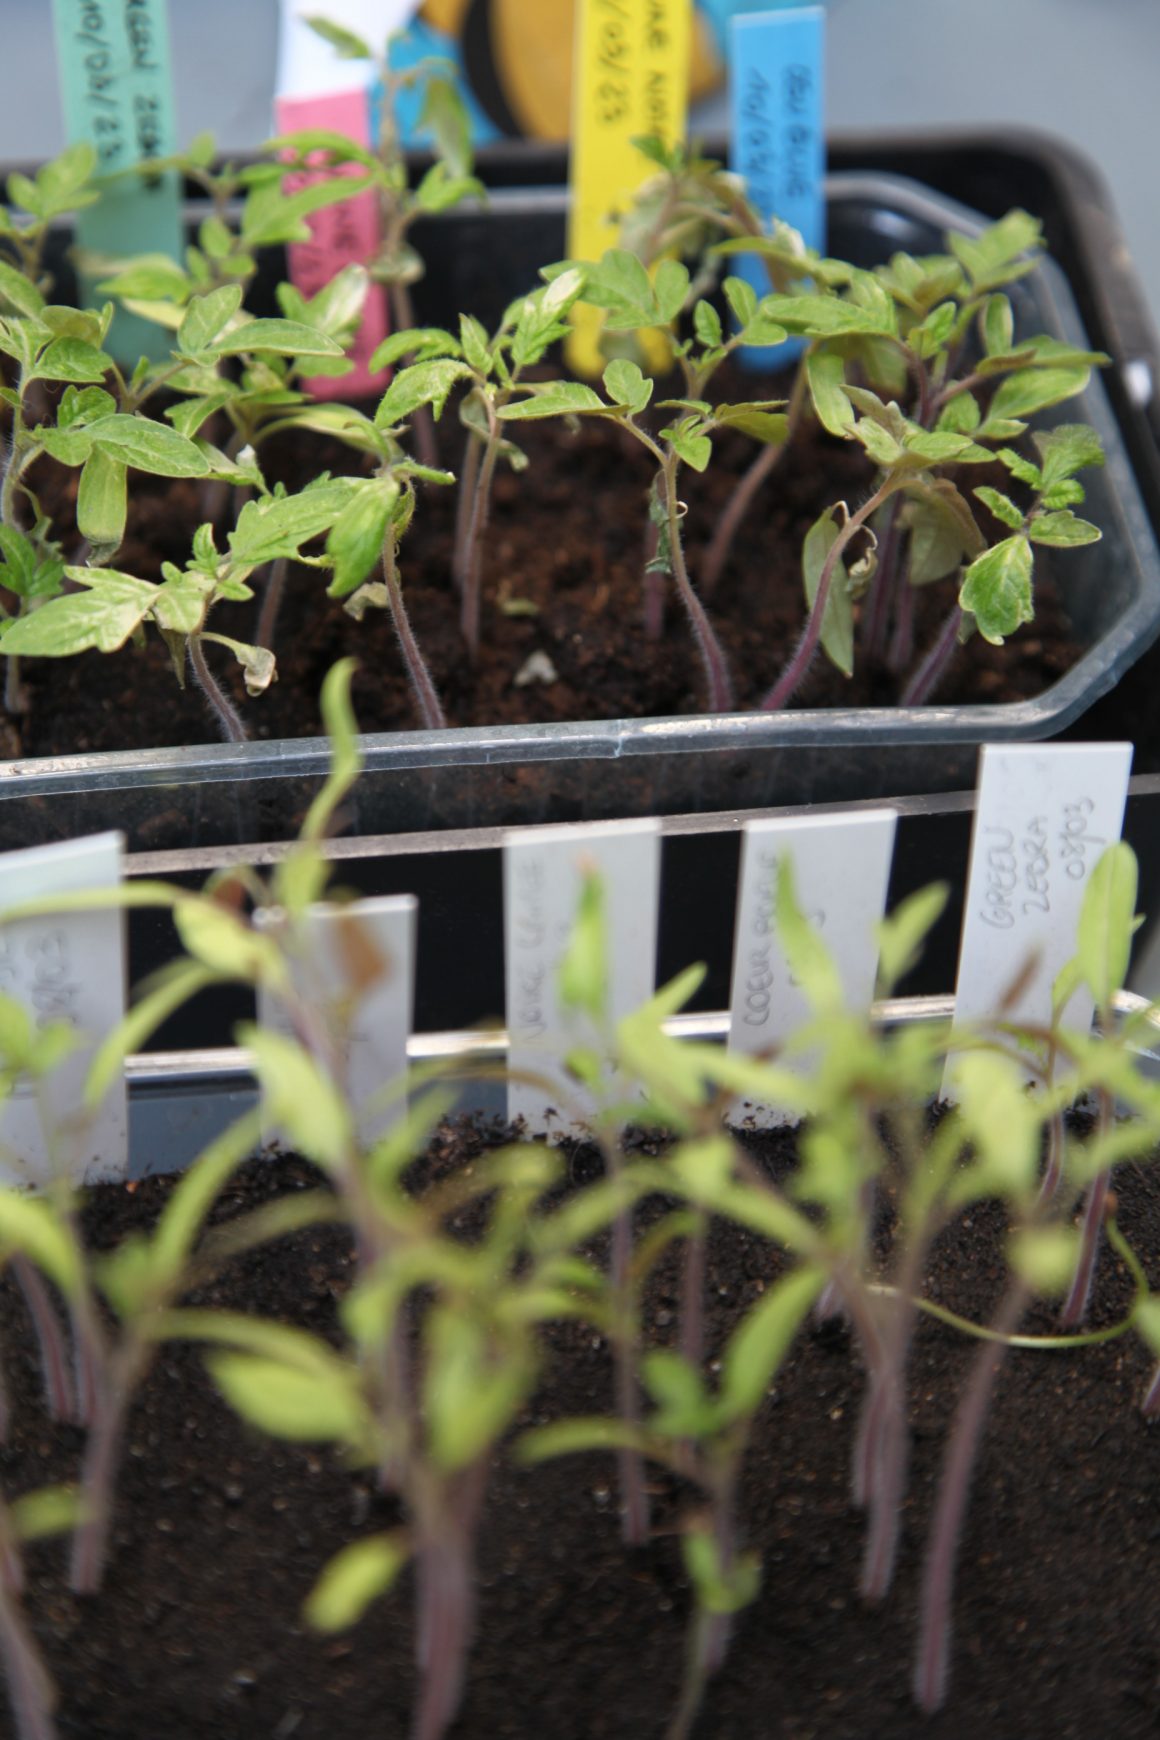
Since our episode #1 , which was all about sowing, our tomato seeds have sprouted and grown, revealing two true serrated leaves. It is now time to transplant the seedlings deep into individual pots, so that they can develop at the root and above-ground levels. Transplanting them will enable the seedlings to gain strength before planting. In this article, Valéry Tsimba, who came to transplant tomatoes and garden with us on a recent sunny day, will share some expert advice.
Why is it necessary to transplant tomatoes?
Tomatoes are often sown in special sowing soil, in small individual pots or shallow trays. This fine, well-drained potting soil facilitates seed emergence. However, it is relatively low in nutrients, which is not a problem since the first two primordial leaves - called cotyledons - contain nutrient reserves and serve to feed the baby seedling. This stage marks the beginning of photosynthesis. Next come the first two true leaves of the tomato, recognisable by their serrated shape. At this stage, the seedling needs a richer soil and more space to perfect its root system and to grow before it is planted. To do this, the seedlings should be transplanted deep into individual pots up to the cotyledons. NB : You can also transplant in groups, provided that the container is deep and large enough so that each seedling is well spaced.
How to transplant tomato plants?
Equipment needed
- pots measuring at least 7 x 7 cm to 10 x 10 cm
- horticultural potting soil or universal potting soil amended with compost
- fork
- labels
- pencil
Method
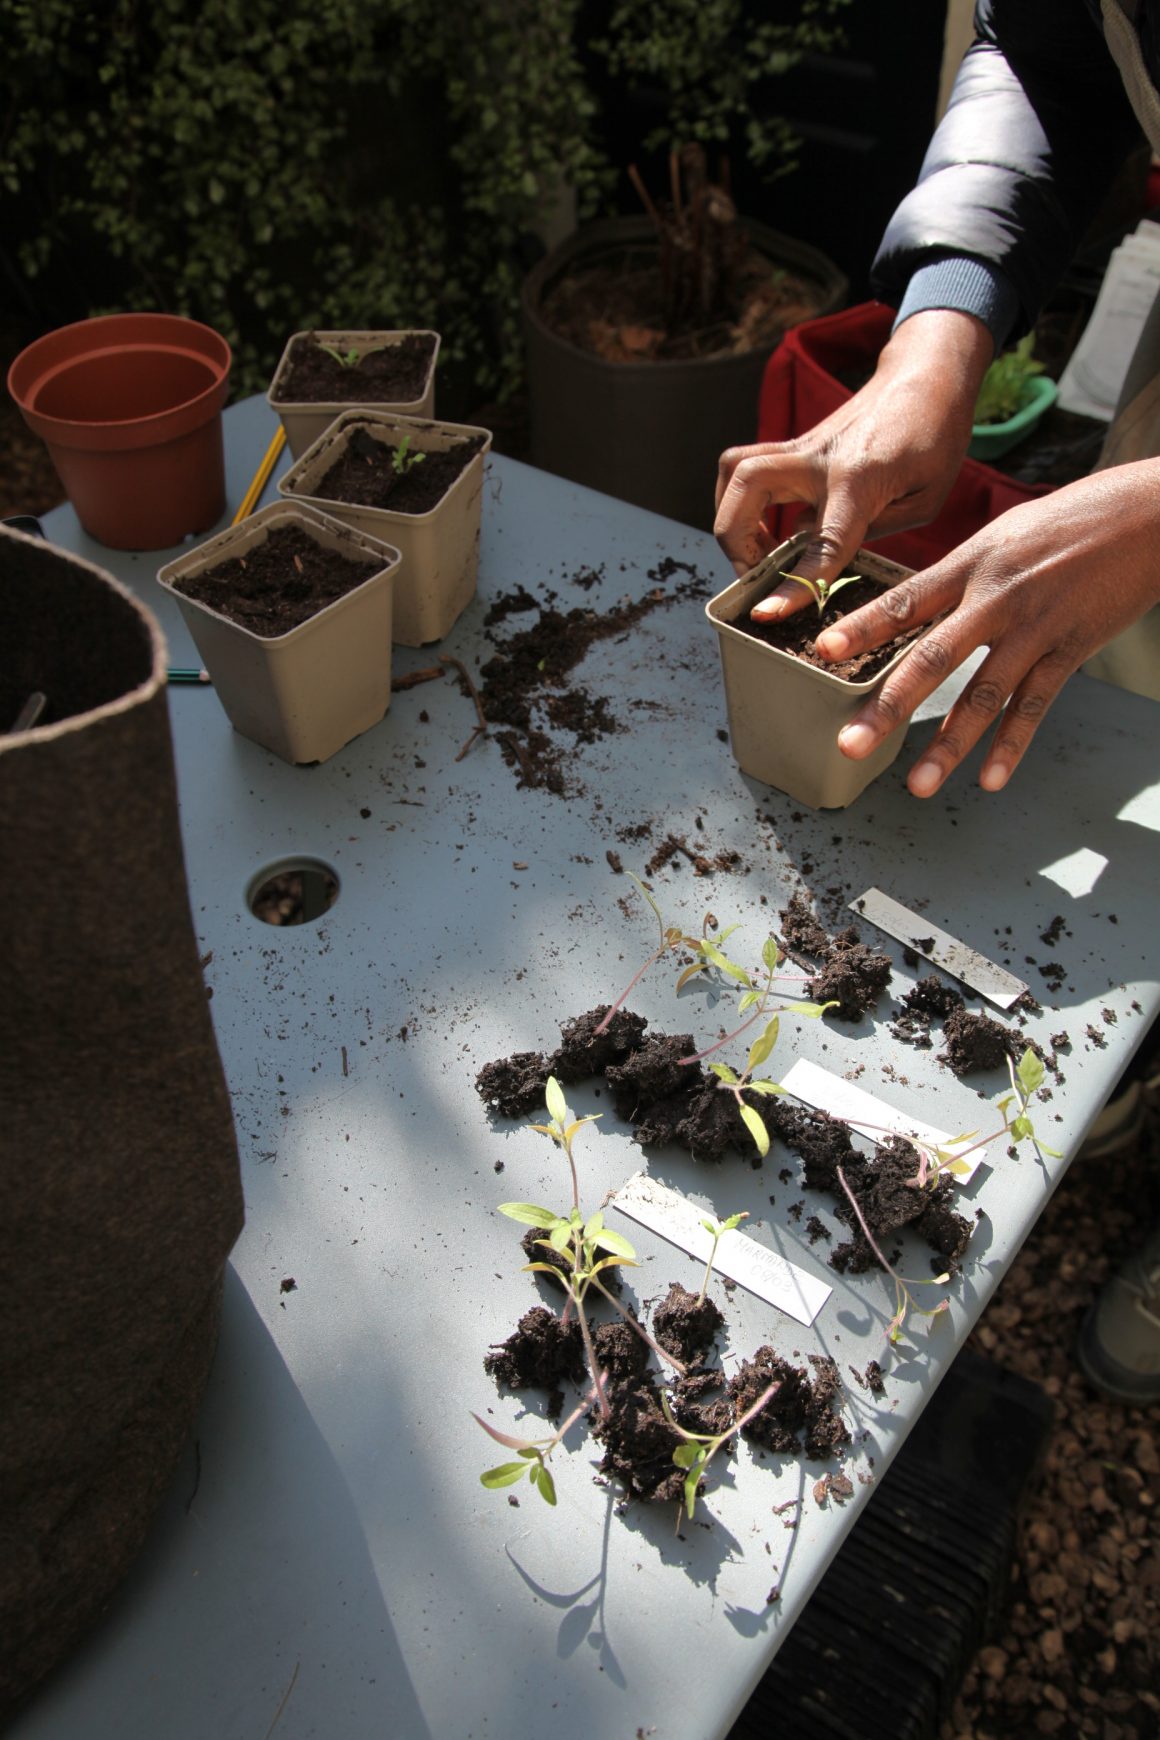
- If you have sown several varieties, make sure you work on one variety at a time.
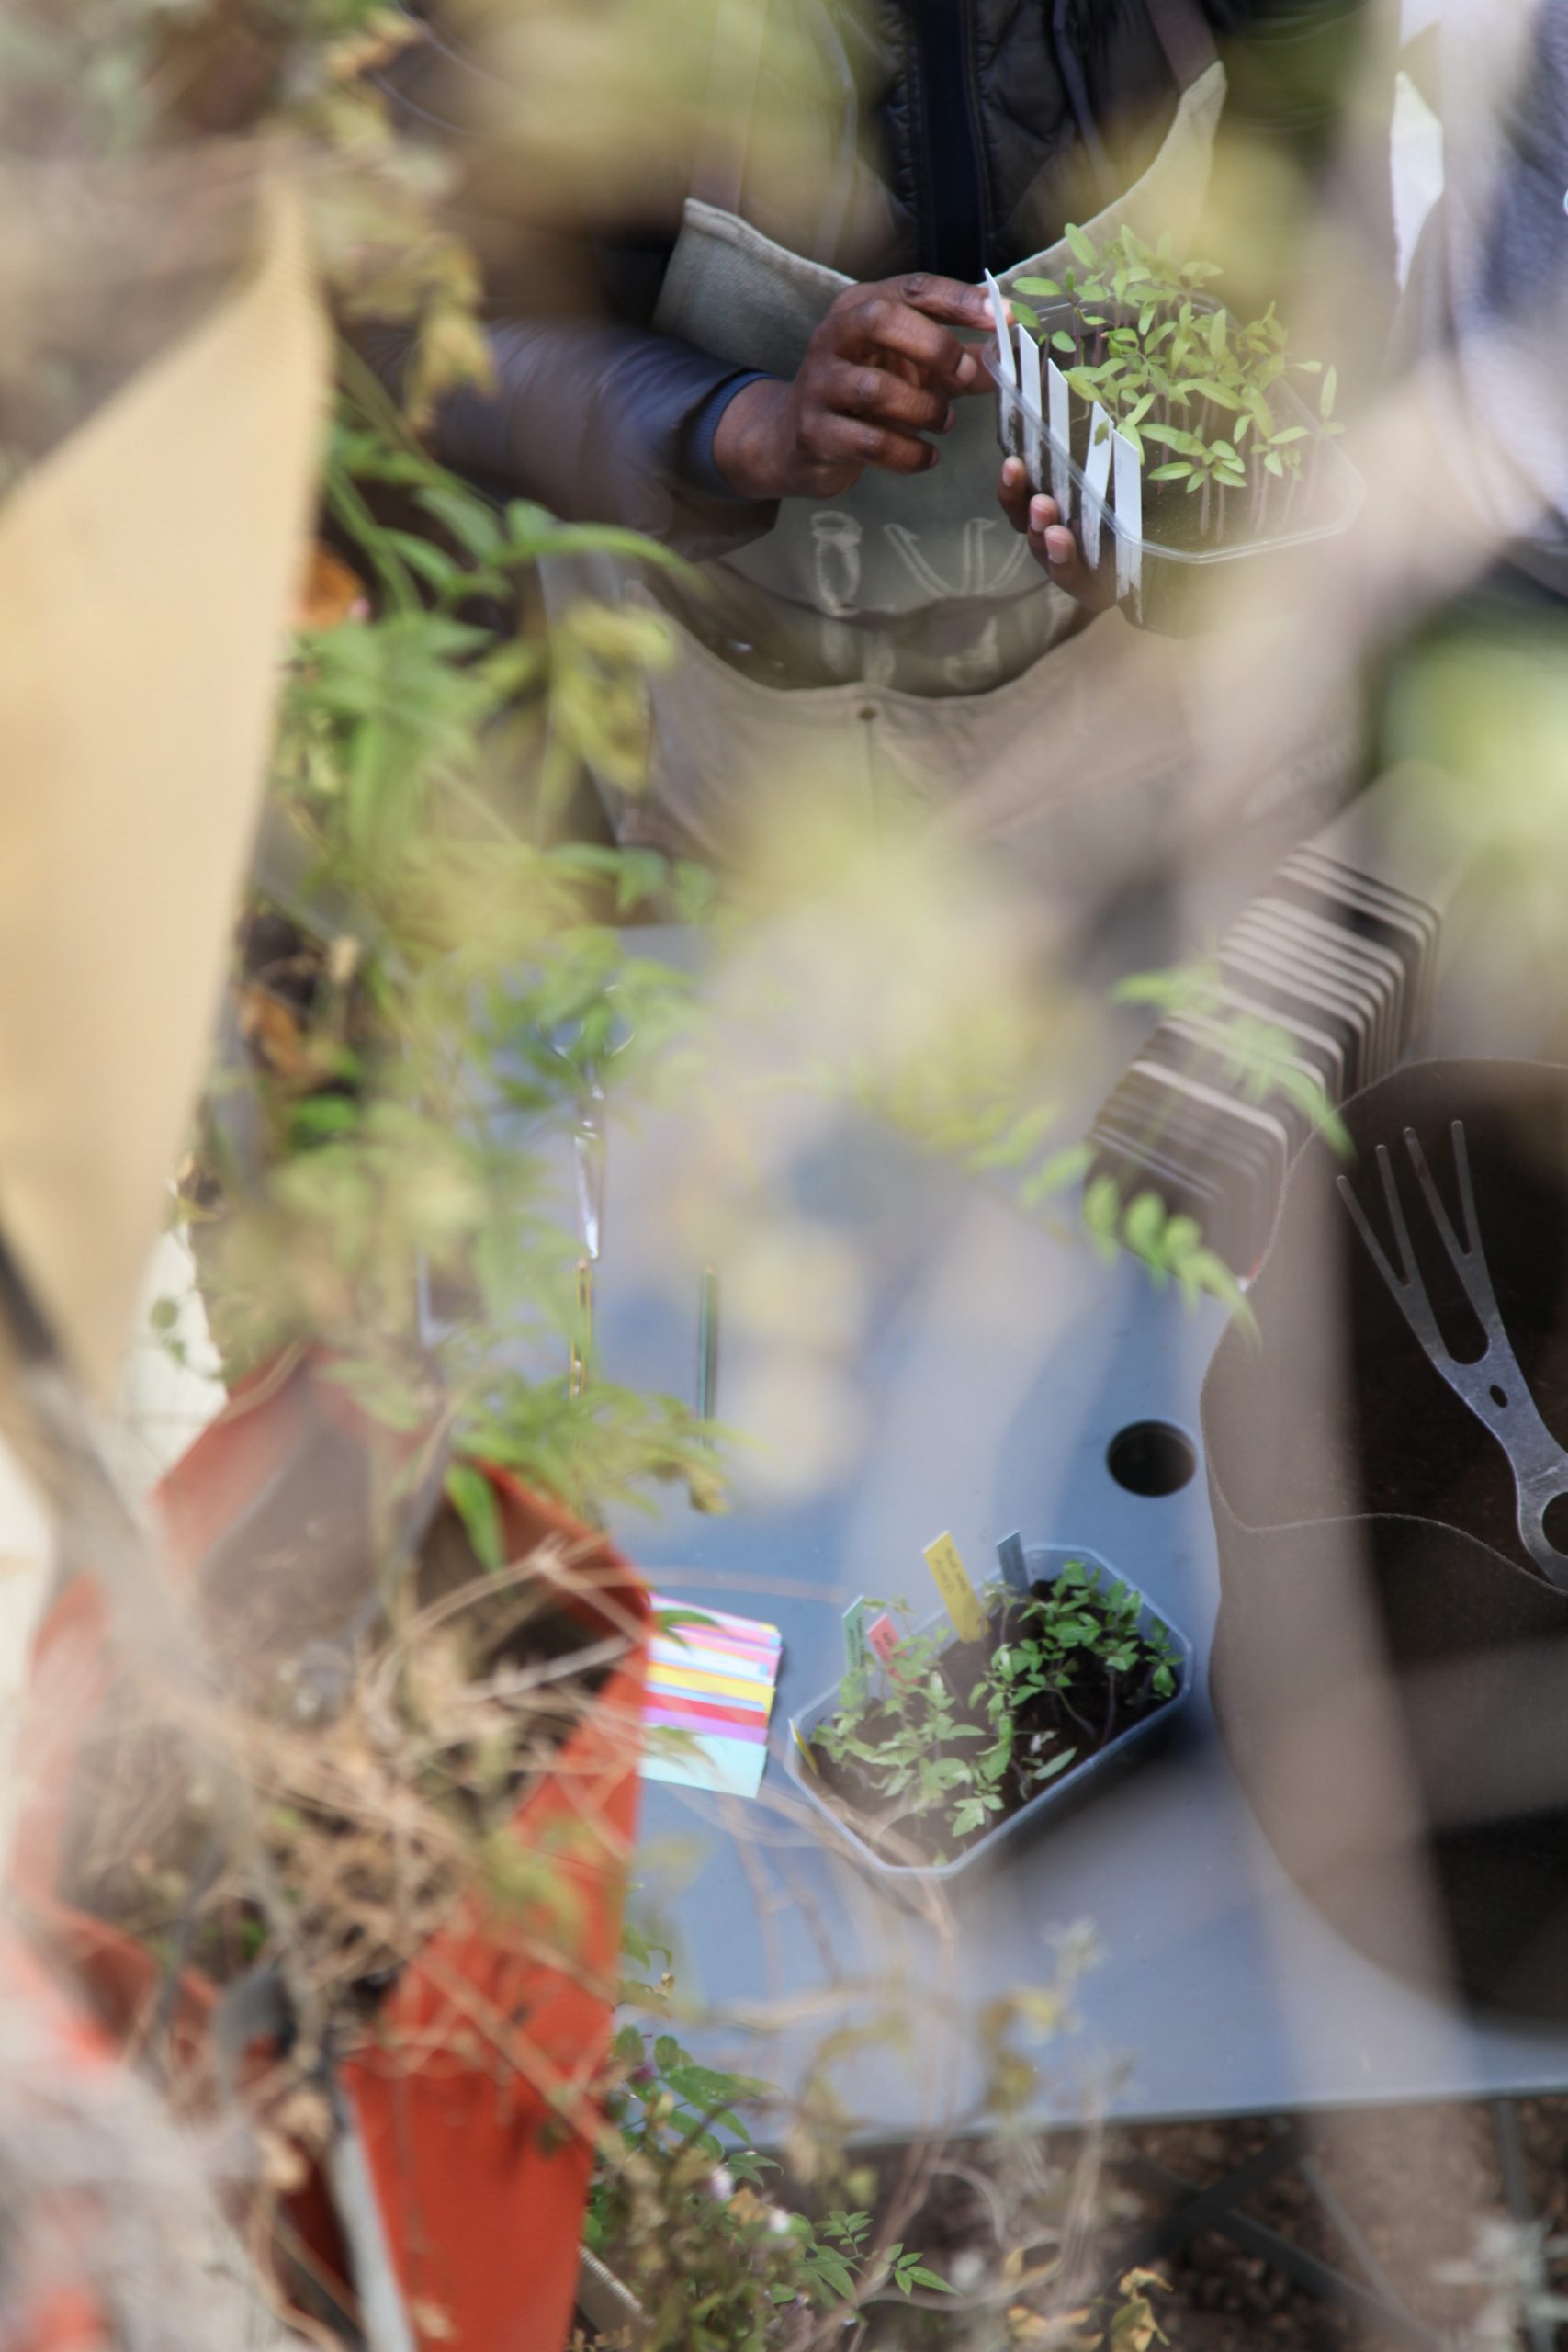
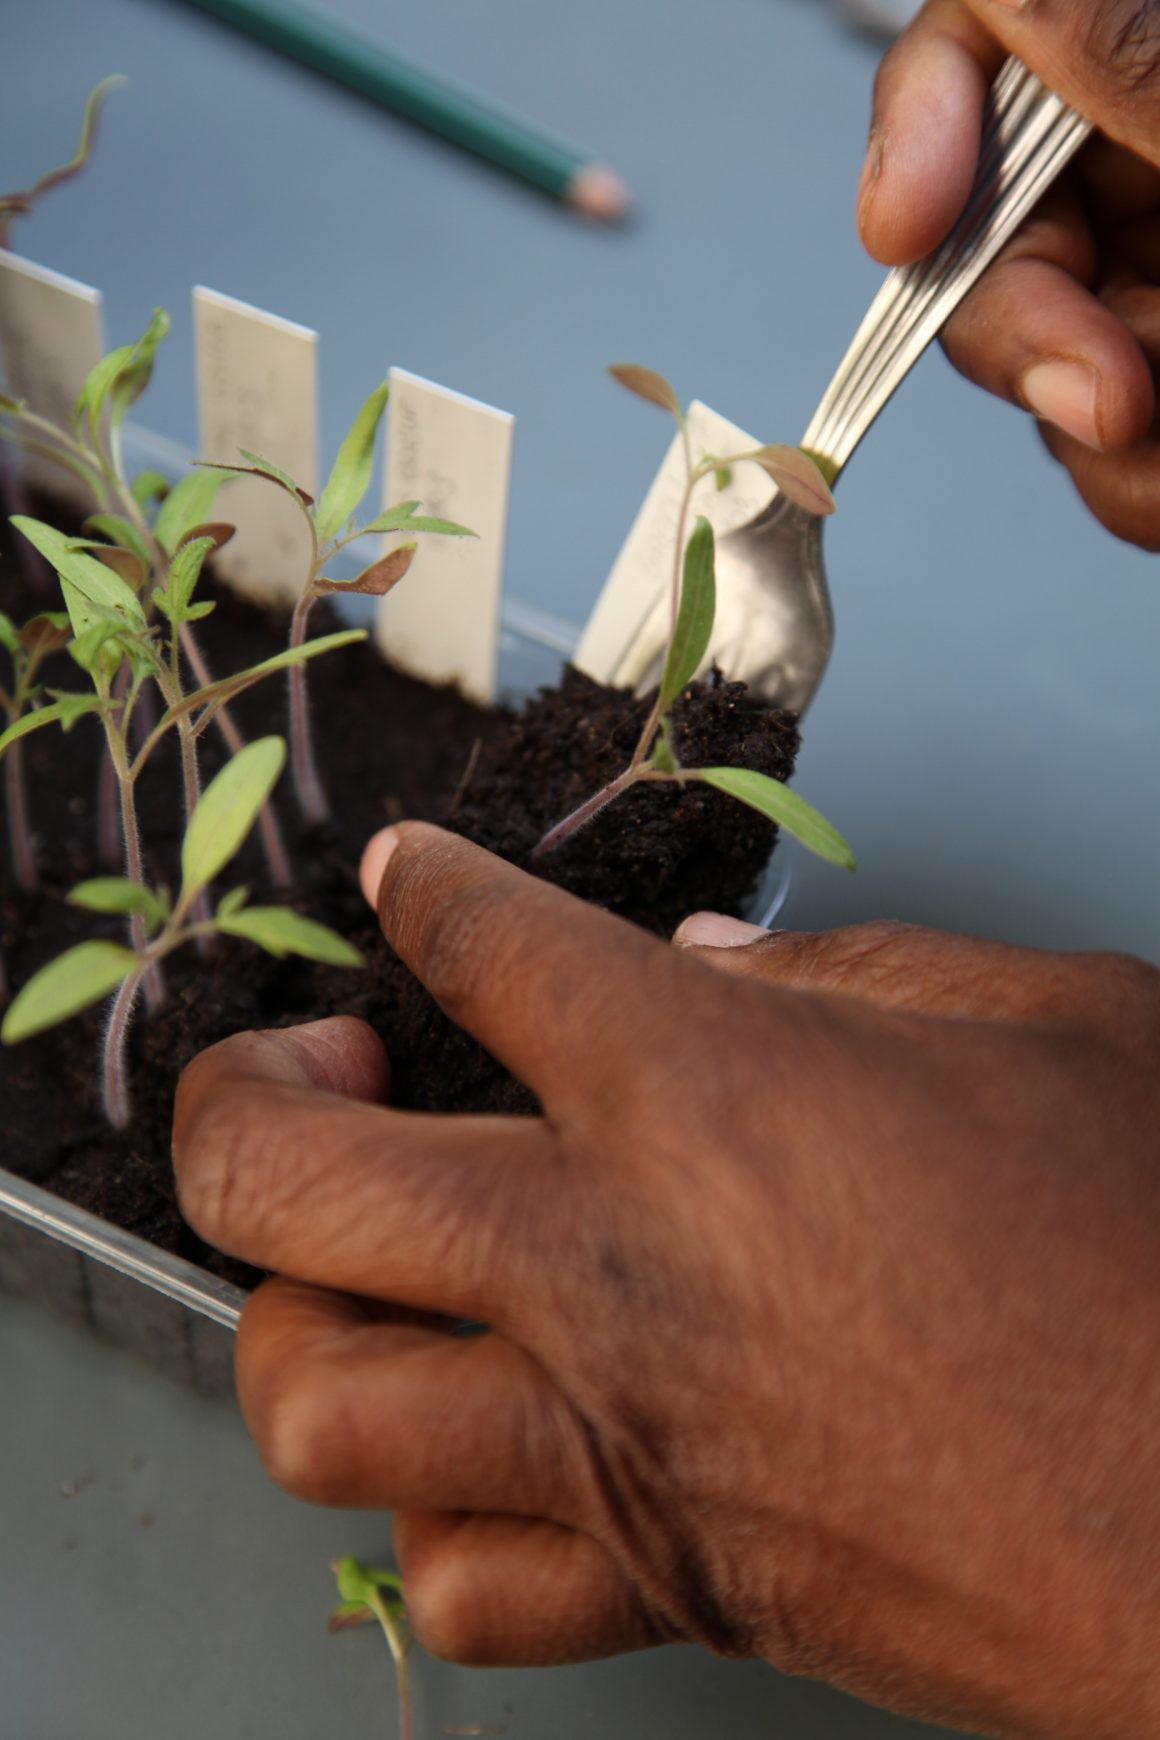
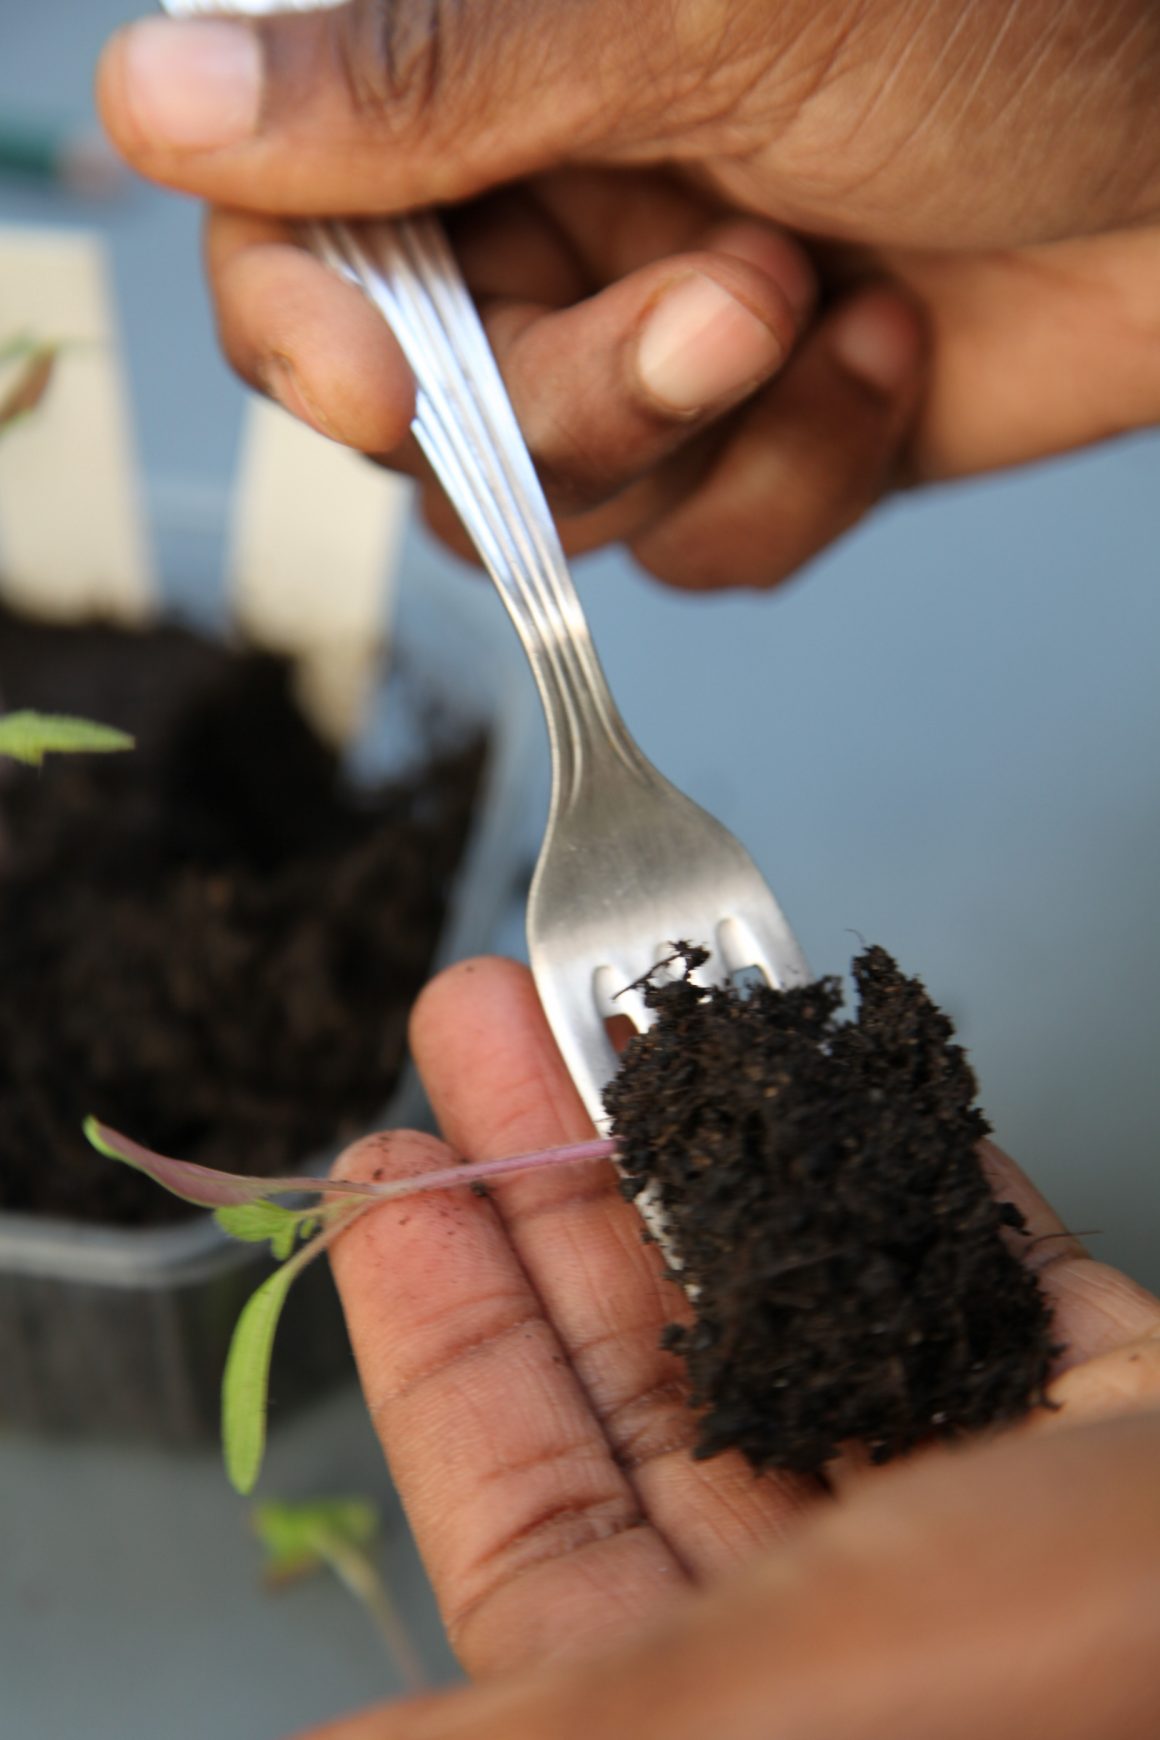
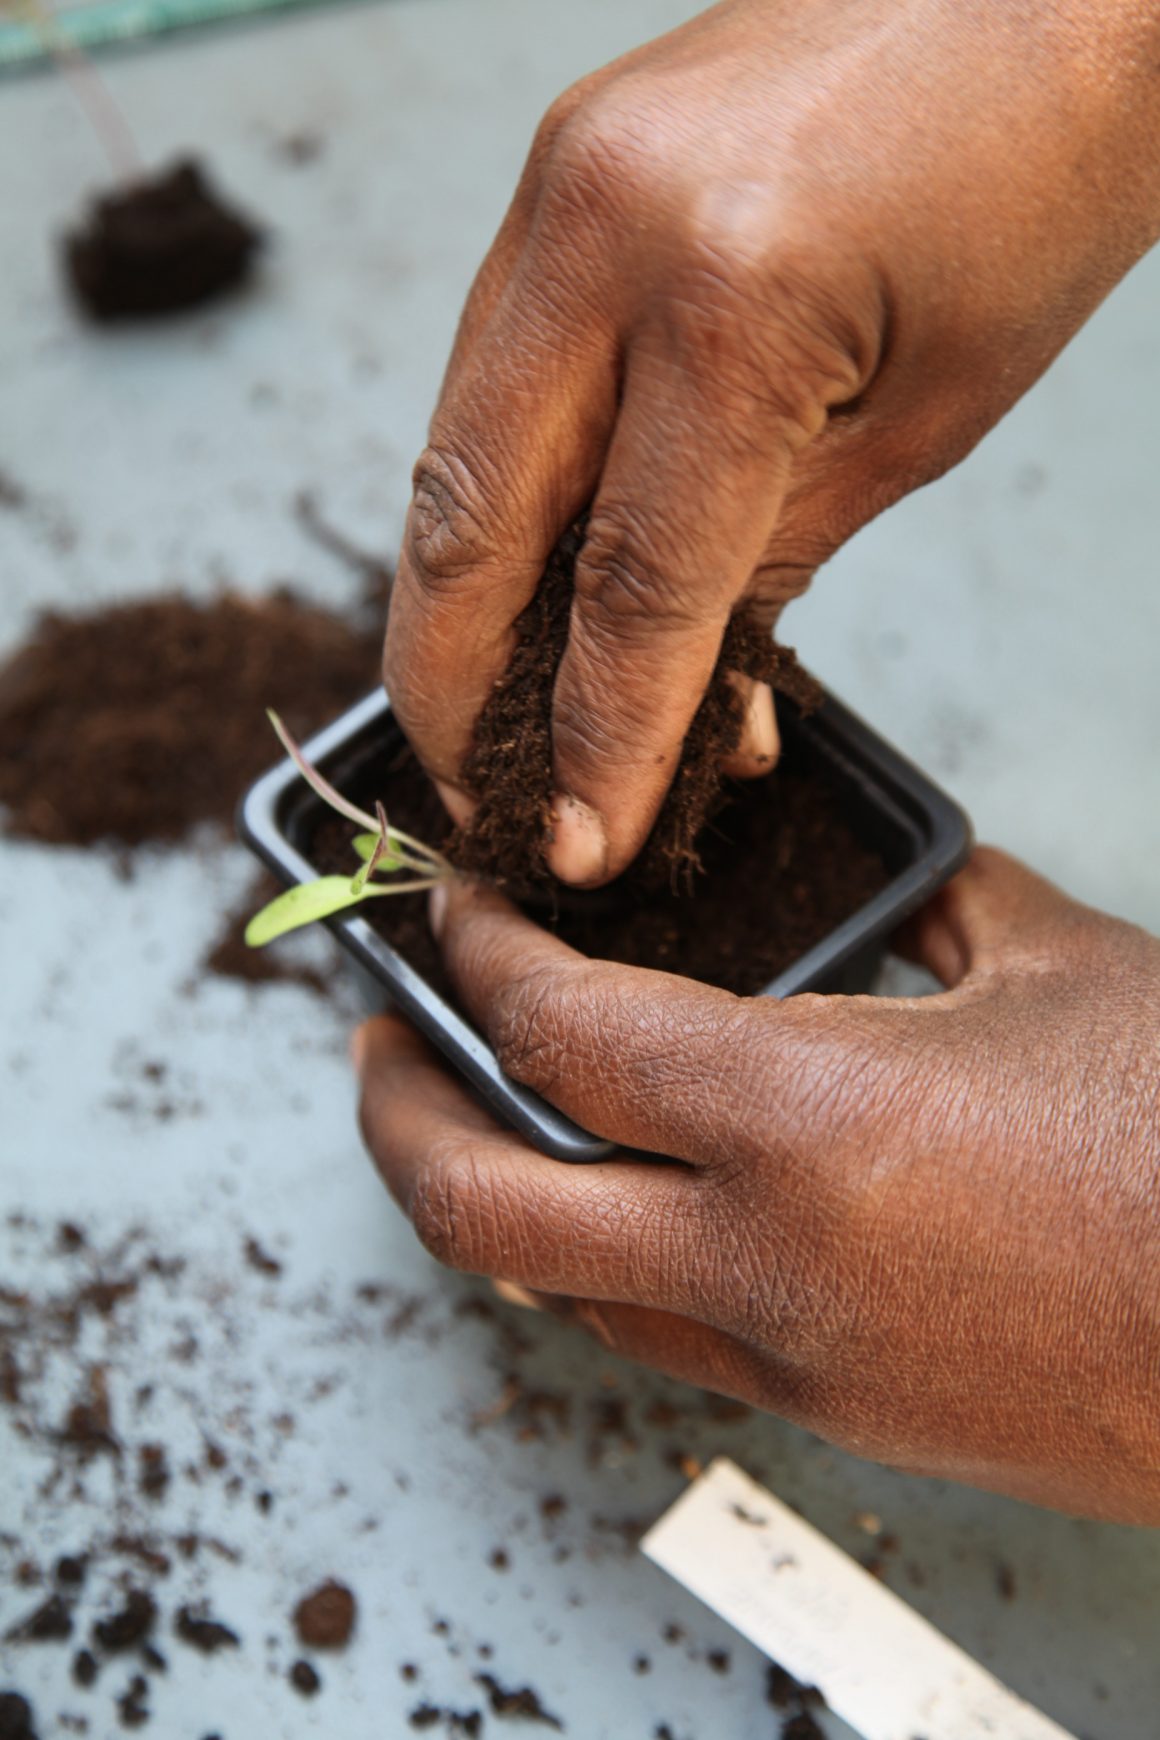
- Moisten the potting soil so that the seedlings can be pulled out more easily. Carefully remove the seedlings with a fork, leaving a small clump around the roots. Handle the seedling by the root ball, not by the stem.
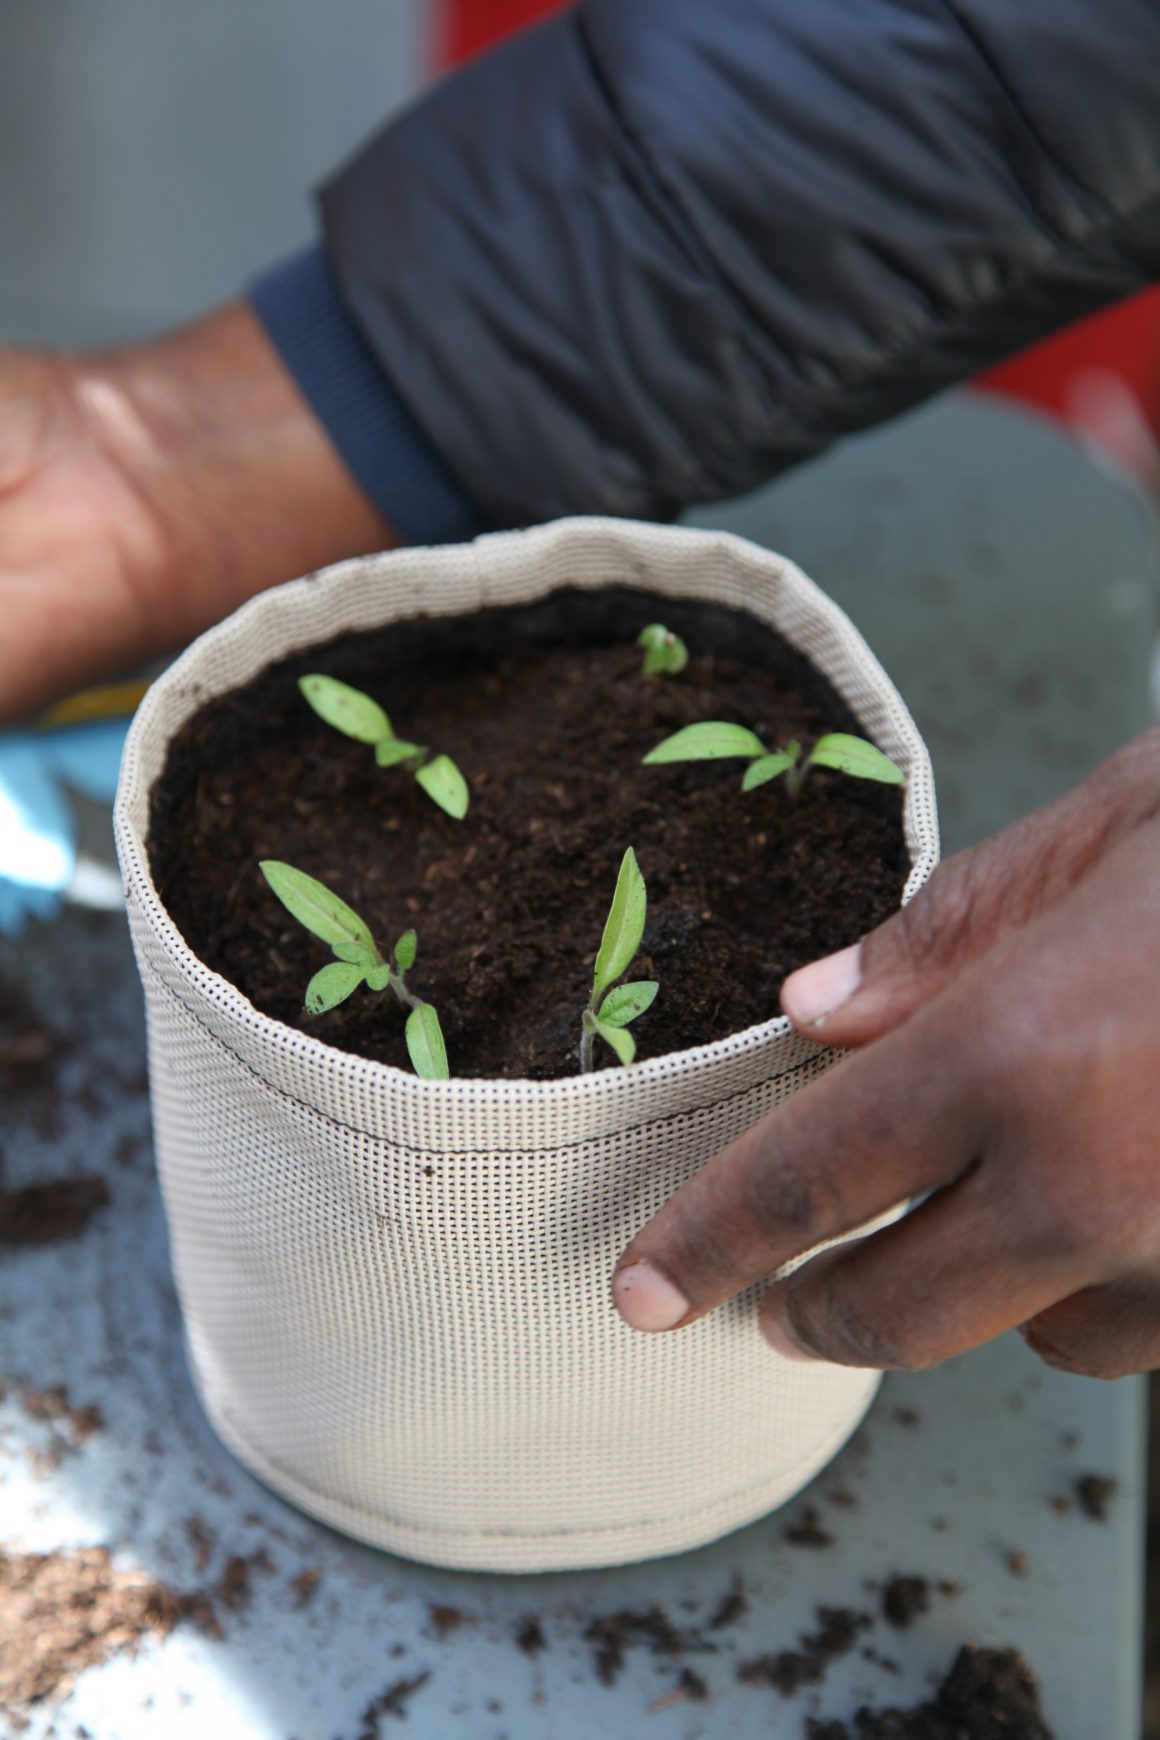
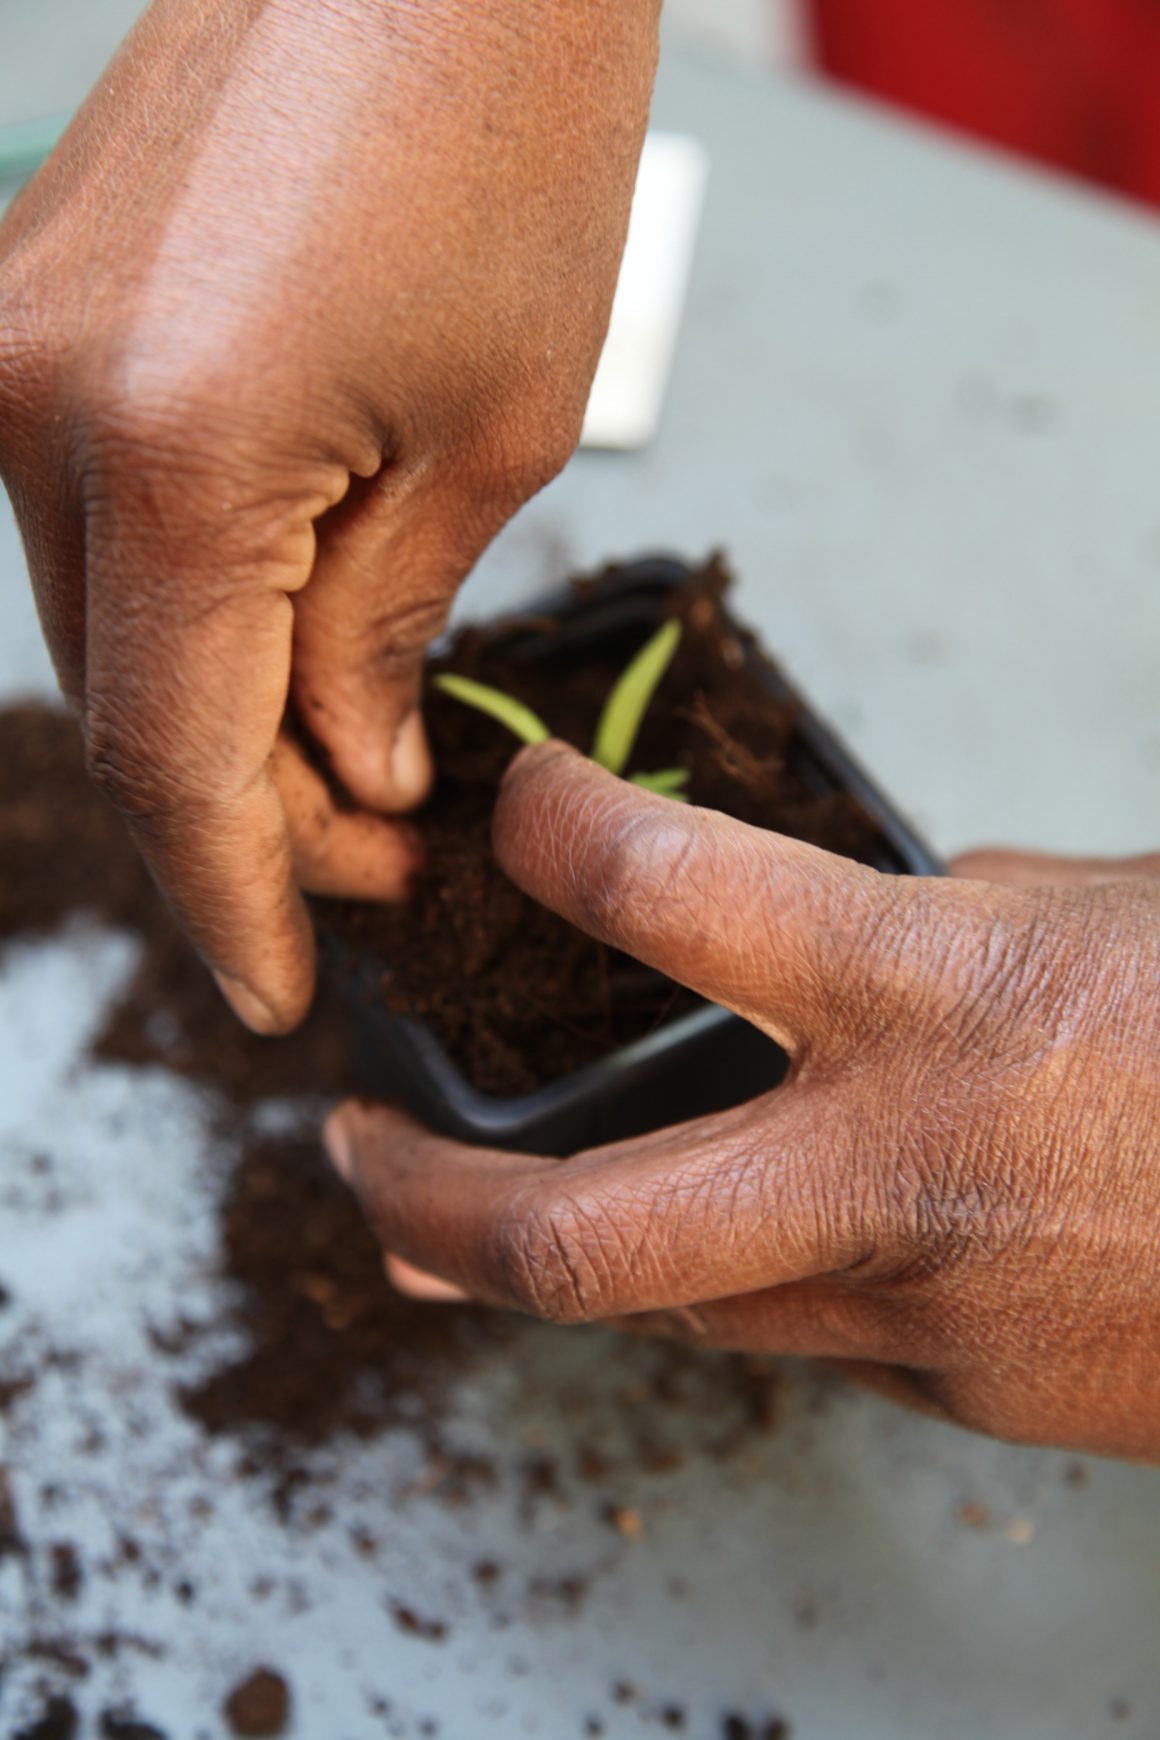
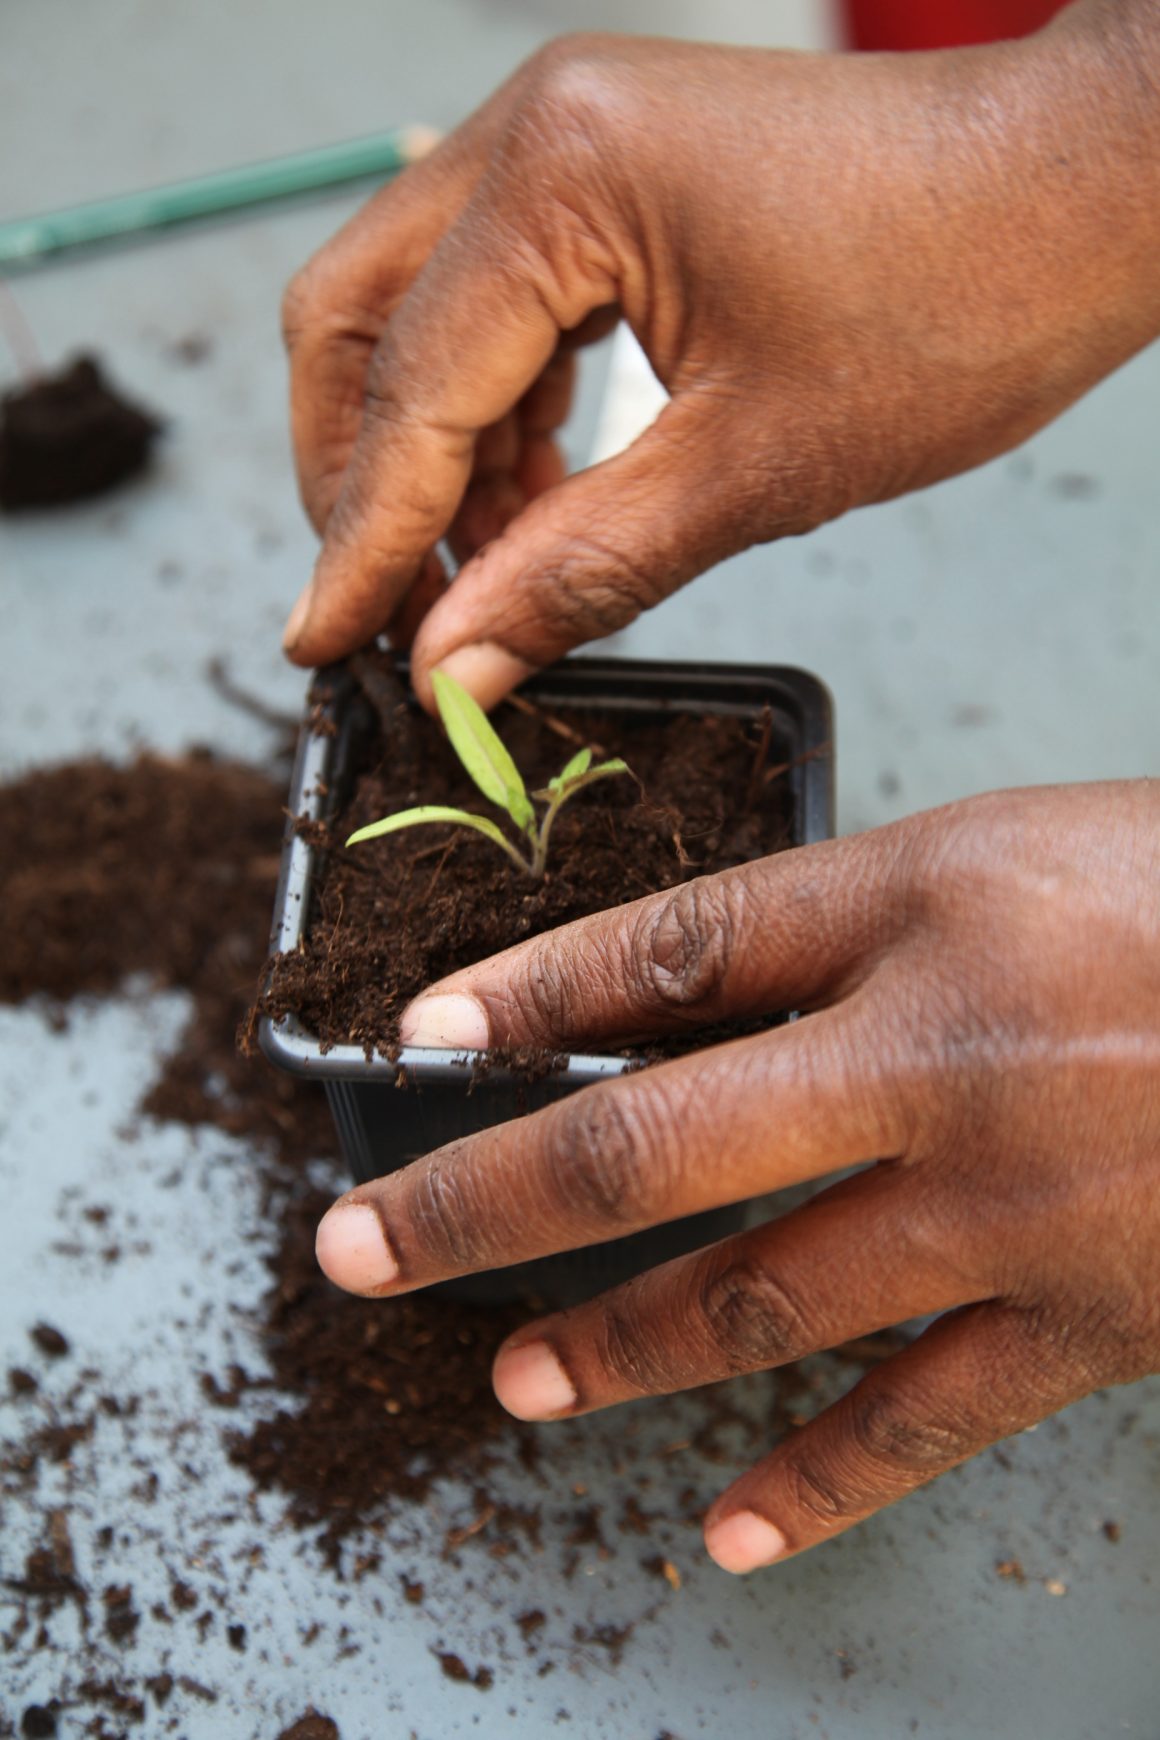
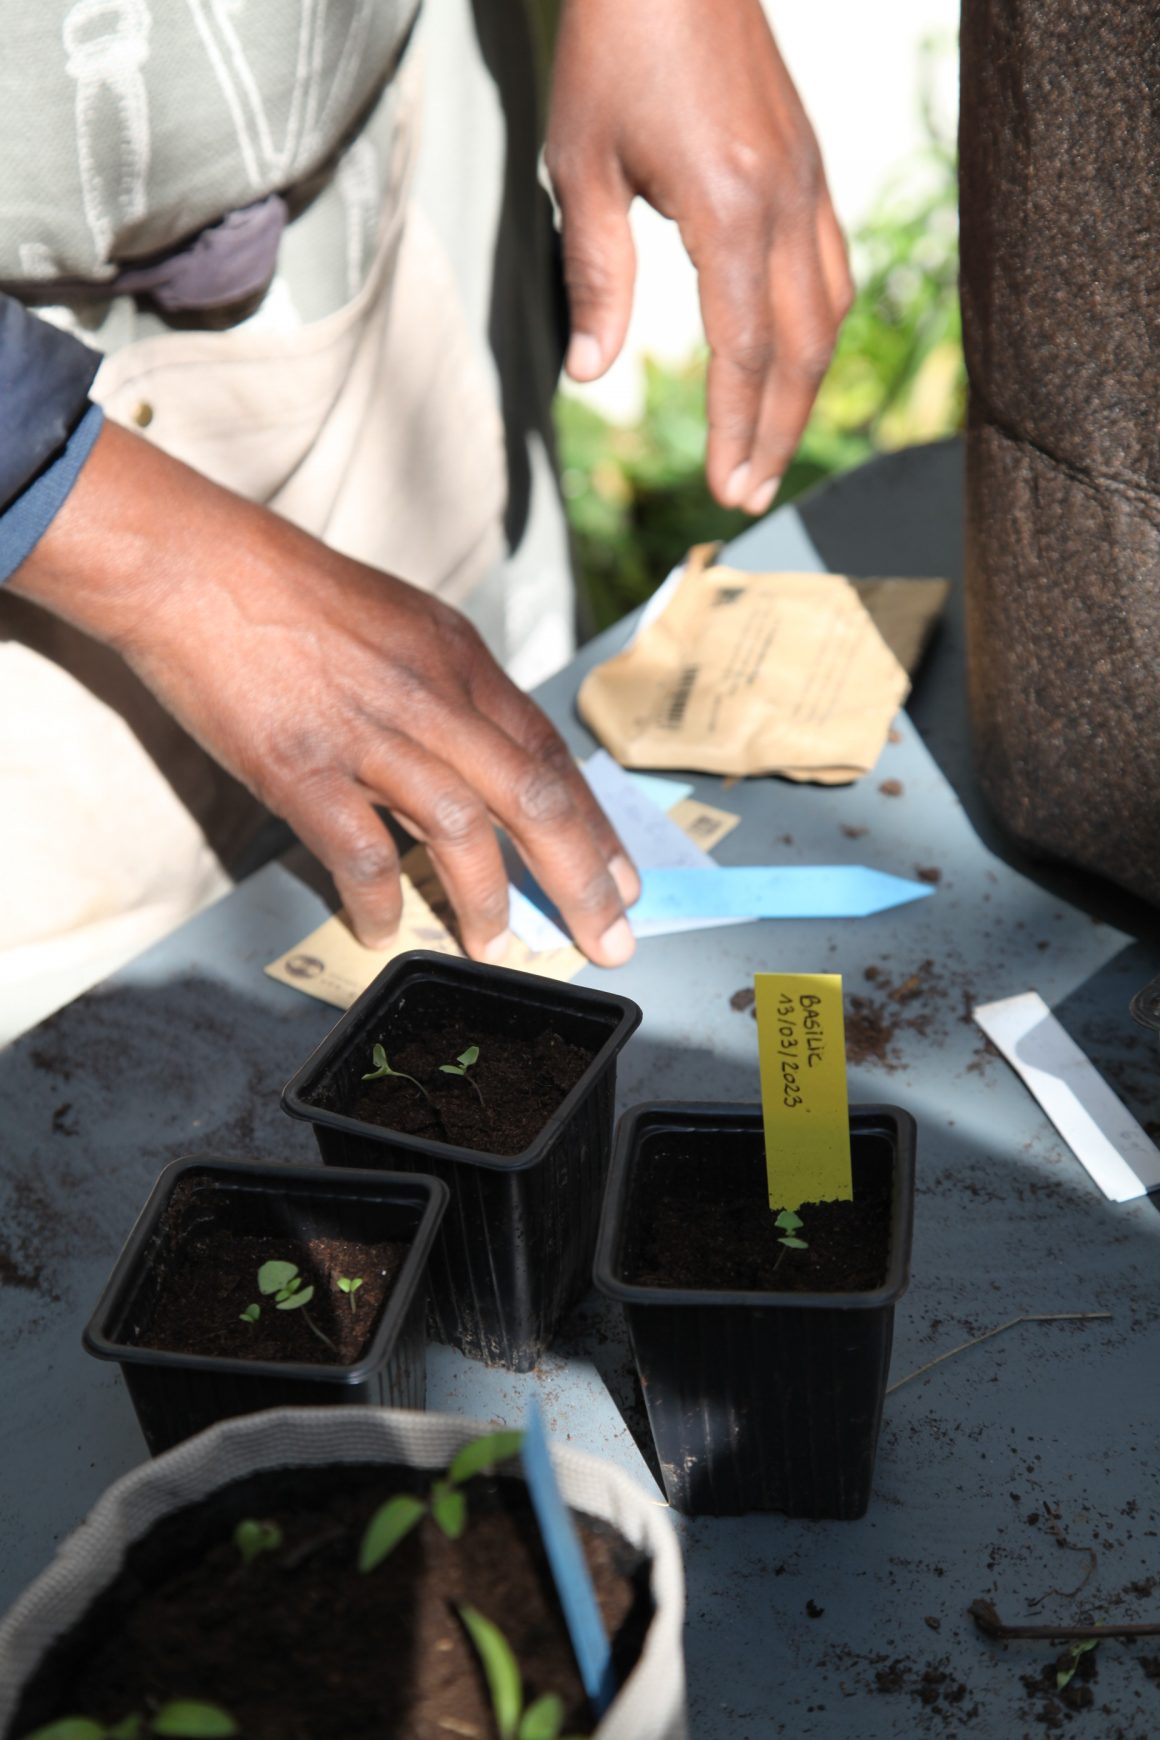
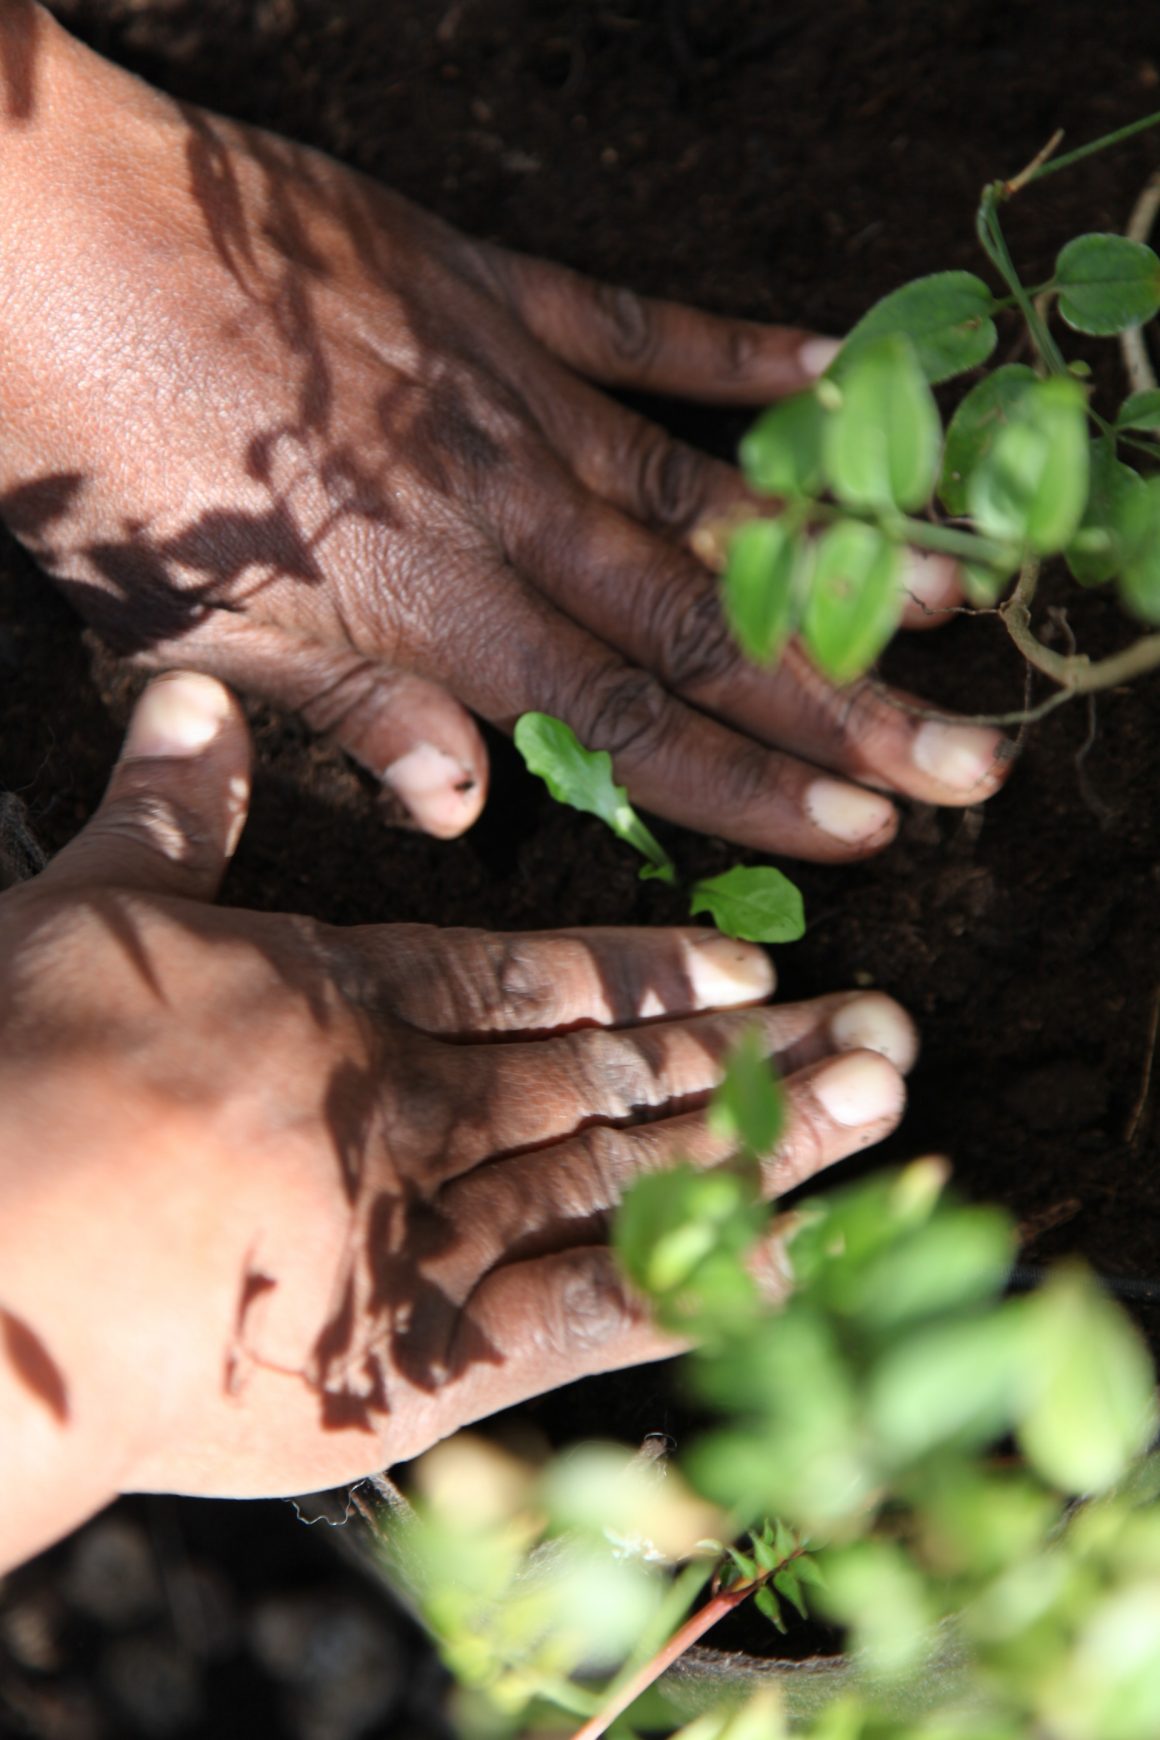
- After filling the pot with potting soil, make a hole deep and wide enough in the centre to insert the plant up to the cotyledons. If necessary, add more potting soil and pack around the plant. Label the name of the variety
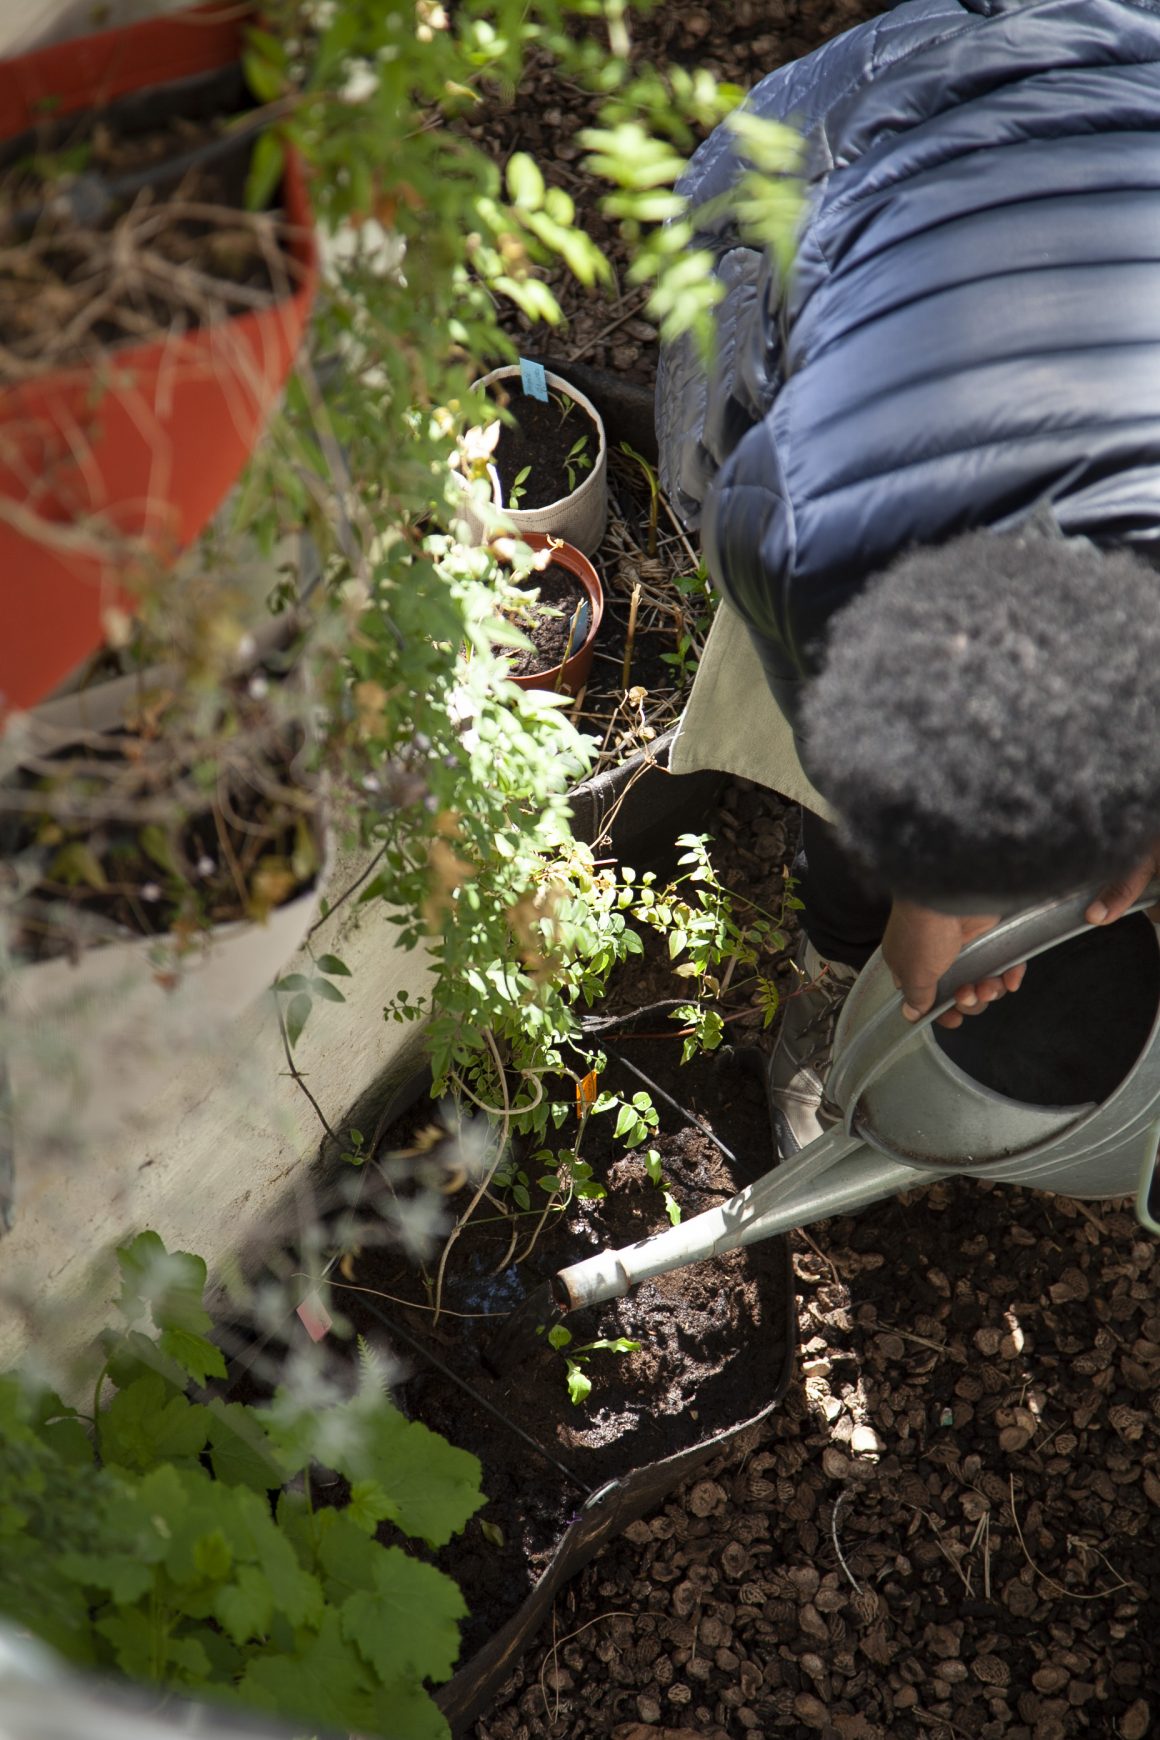
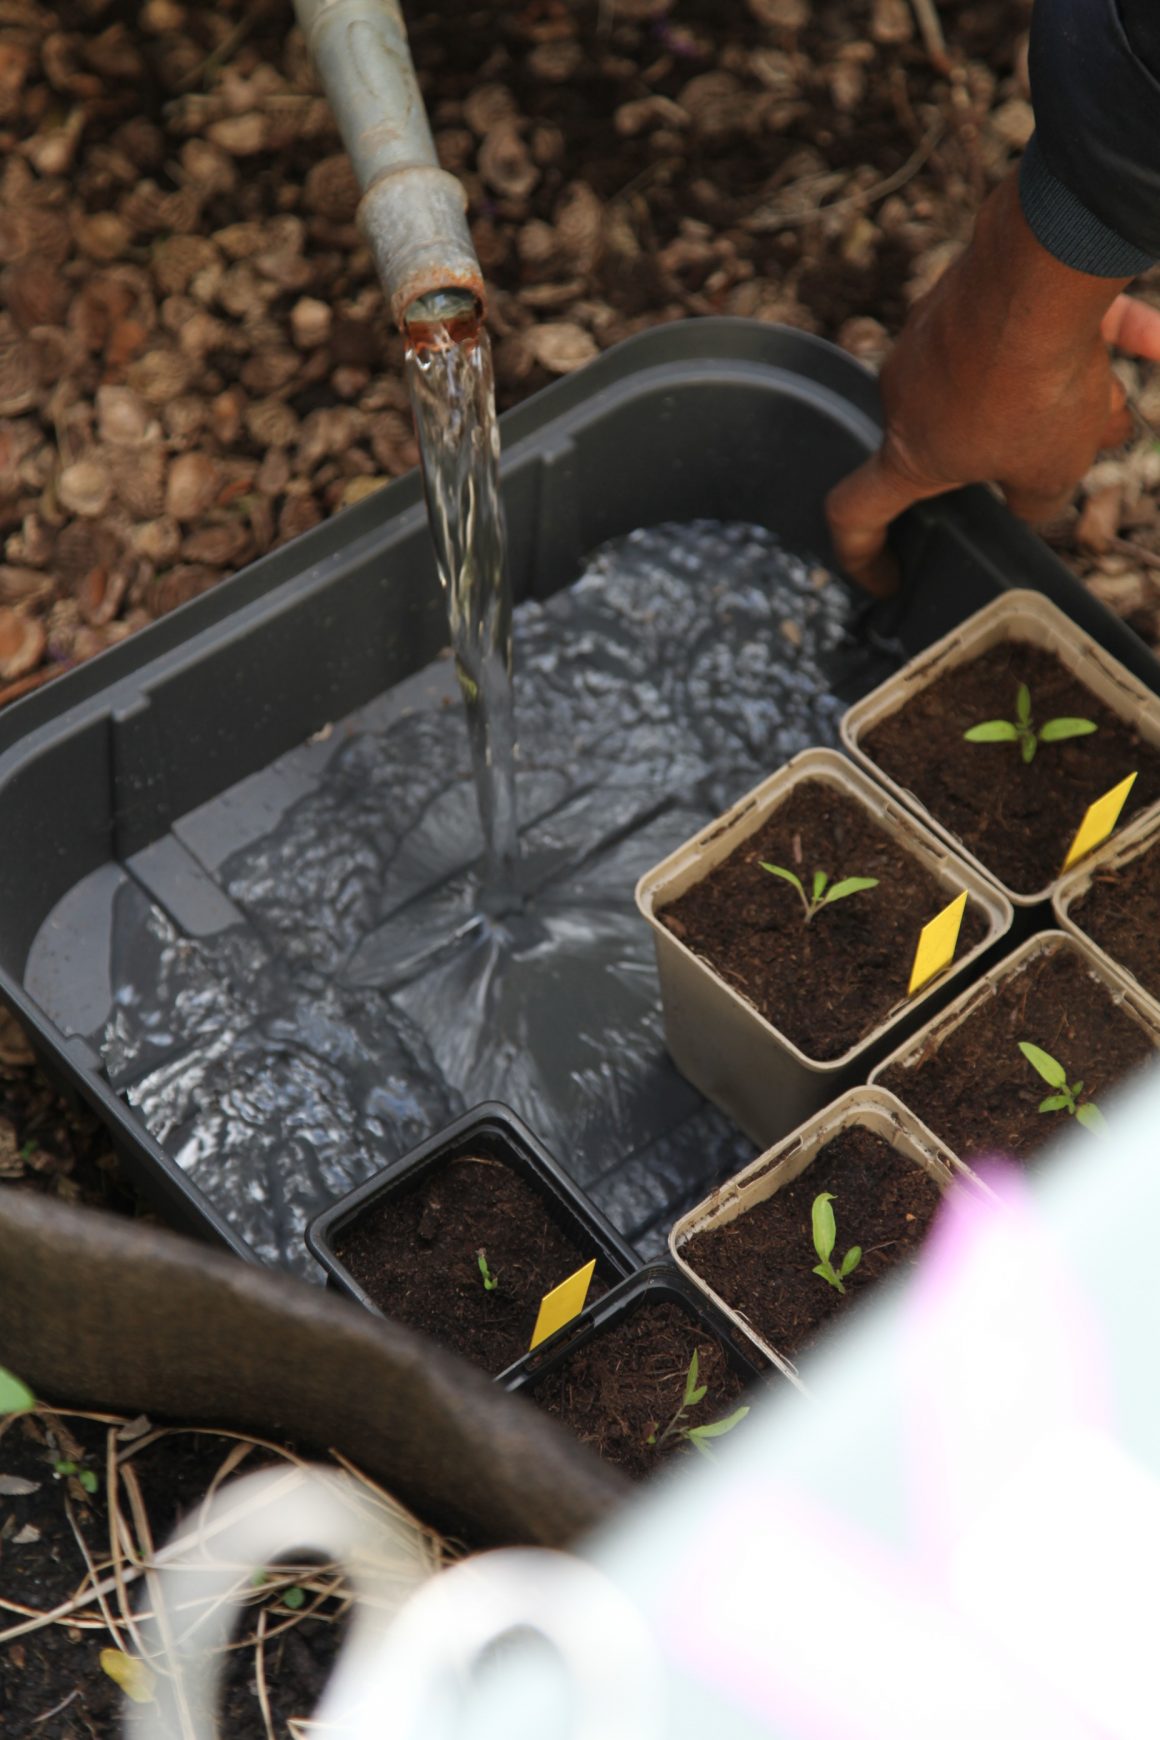
- Water by spraying or ideally by capillary action: place your pots in a container with water in its base, let them 'drink up' until the whole surface is wet, then remove the excess water from the container.
- Immediately after transplanting, make sure that the seedlings are not exposed to full sun but are in a semi-shaded area.
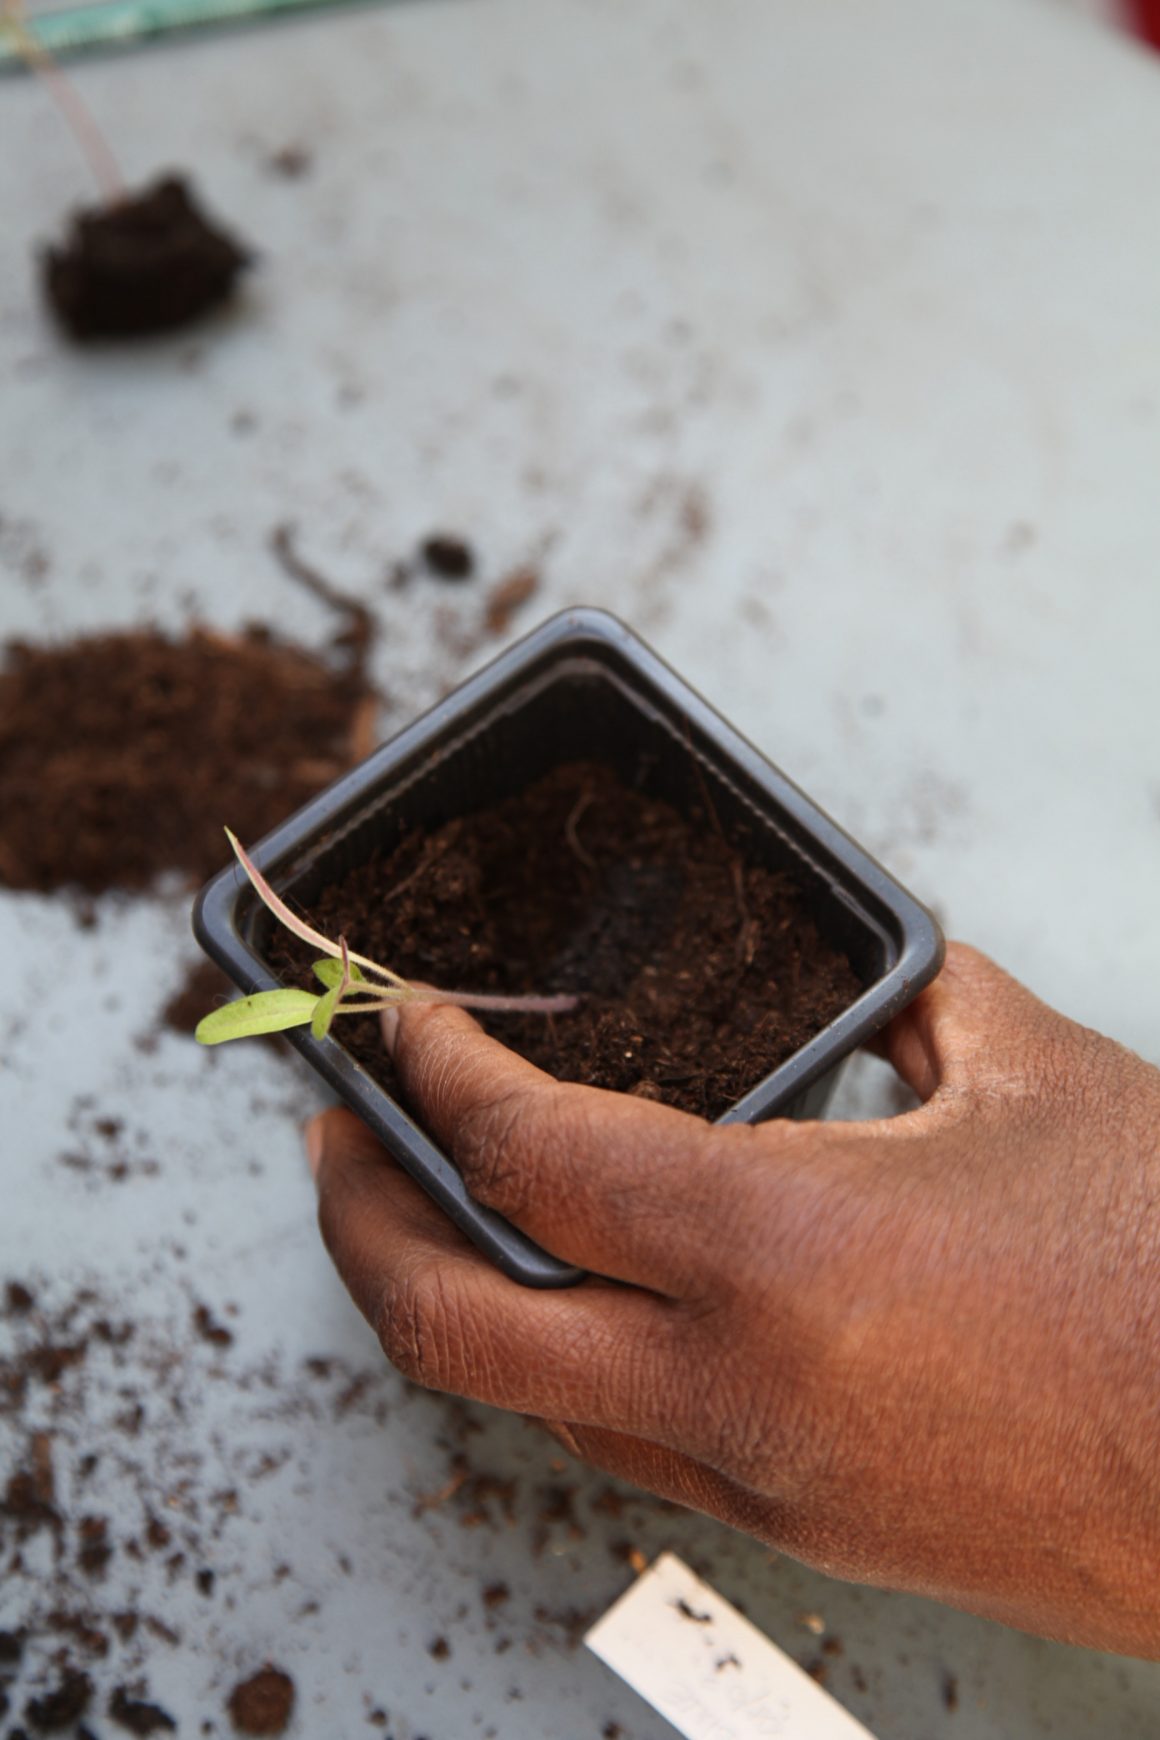
If your seedling has an elongated stem that does not allow it to be buried vertically up to the cotyledons:
- Place a thin layer of potting soil at the bottom of the container
- Insert the root ball and add potting soil while keeping the stem curved.
That way the entire stem is buried up to the cotyledons.
How to keep your tomato plants once transplanted?
Your tomatoes will be planted in their permanent location when there is no longer any fear of frost, i.e. after the Ice Saints (11, 12, 13 May). Until then, continue to keep your plants in the light and under heated shelter (indoors, under a cold frame or a mini-greenhouse in under cover at night!). Water regularly, but be sure to let the root ball dry out between waterings. On sunny days (around 10-12°C), place your plants outside for a few hours to strengthen them and start acclimatising them. Don't forget to bring them in under cover at night!
Preparing for planting
Before the final transplanting of tomatoes to the garden, you can already start sowing companion plants, planning your growing area and preparing the soil.
Sowing companion plants
There are different types of companion plants: complementary , allelopathic and optimisation associations.
- Allelopathic associations : plants that benefit the tomato by helping it fight pests or diseases. The queens of the vegetable garden in this respect are tagetes patula (French marigolds) and marigolds ! In close proximity to the tomato, they help fight whiteflies and nematodes (worms) thanks to the smell of their leaves and the substances secreted by their roots.
- Complementary associations : plants that provide benefits to the tomato and receive benefits in return. Examples are herbs such as basil, chives or parsley. Their repellent smell keeps away certain pests and in exchange they benefit from the shade created by the tomato foliage. Be careful not to plant mint because its rhizomes are too invasive; or aromatic plants such as thyme, oregano or rosemary which do not have the same water requirements.
- Optimisation associations : i.e. vegetable plants that can be sown at the foot of the tomato in order to optimise the growing space. Examples include lettuce (which is sensitive to heat, but thrives under the tomato's foliage), carrots or fast-growing radishes. Another optimising combination is plants that use the tomato as a support! This is the case with certain climbers such as string beans, sweet peas or flowers such asipomea or black-eyed Susan.
Soil preparation
Tomatoes thrive in rich soil. Before planting them, clean the area where they will be grown, add potting soil if necessary and add compost on the surface. This way, the nutrients will gradually sink into the soil, as you water them.
Growing in pots or containers
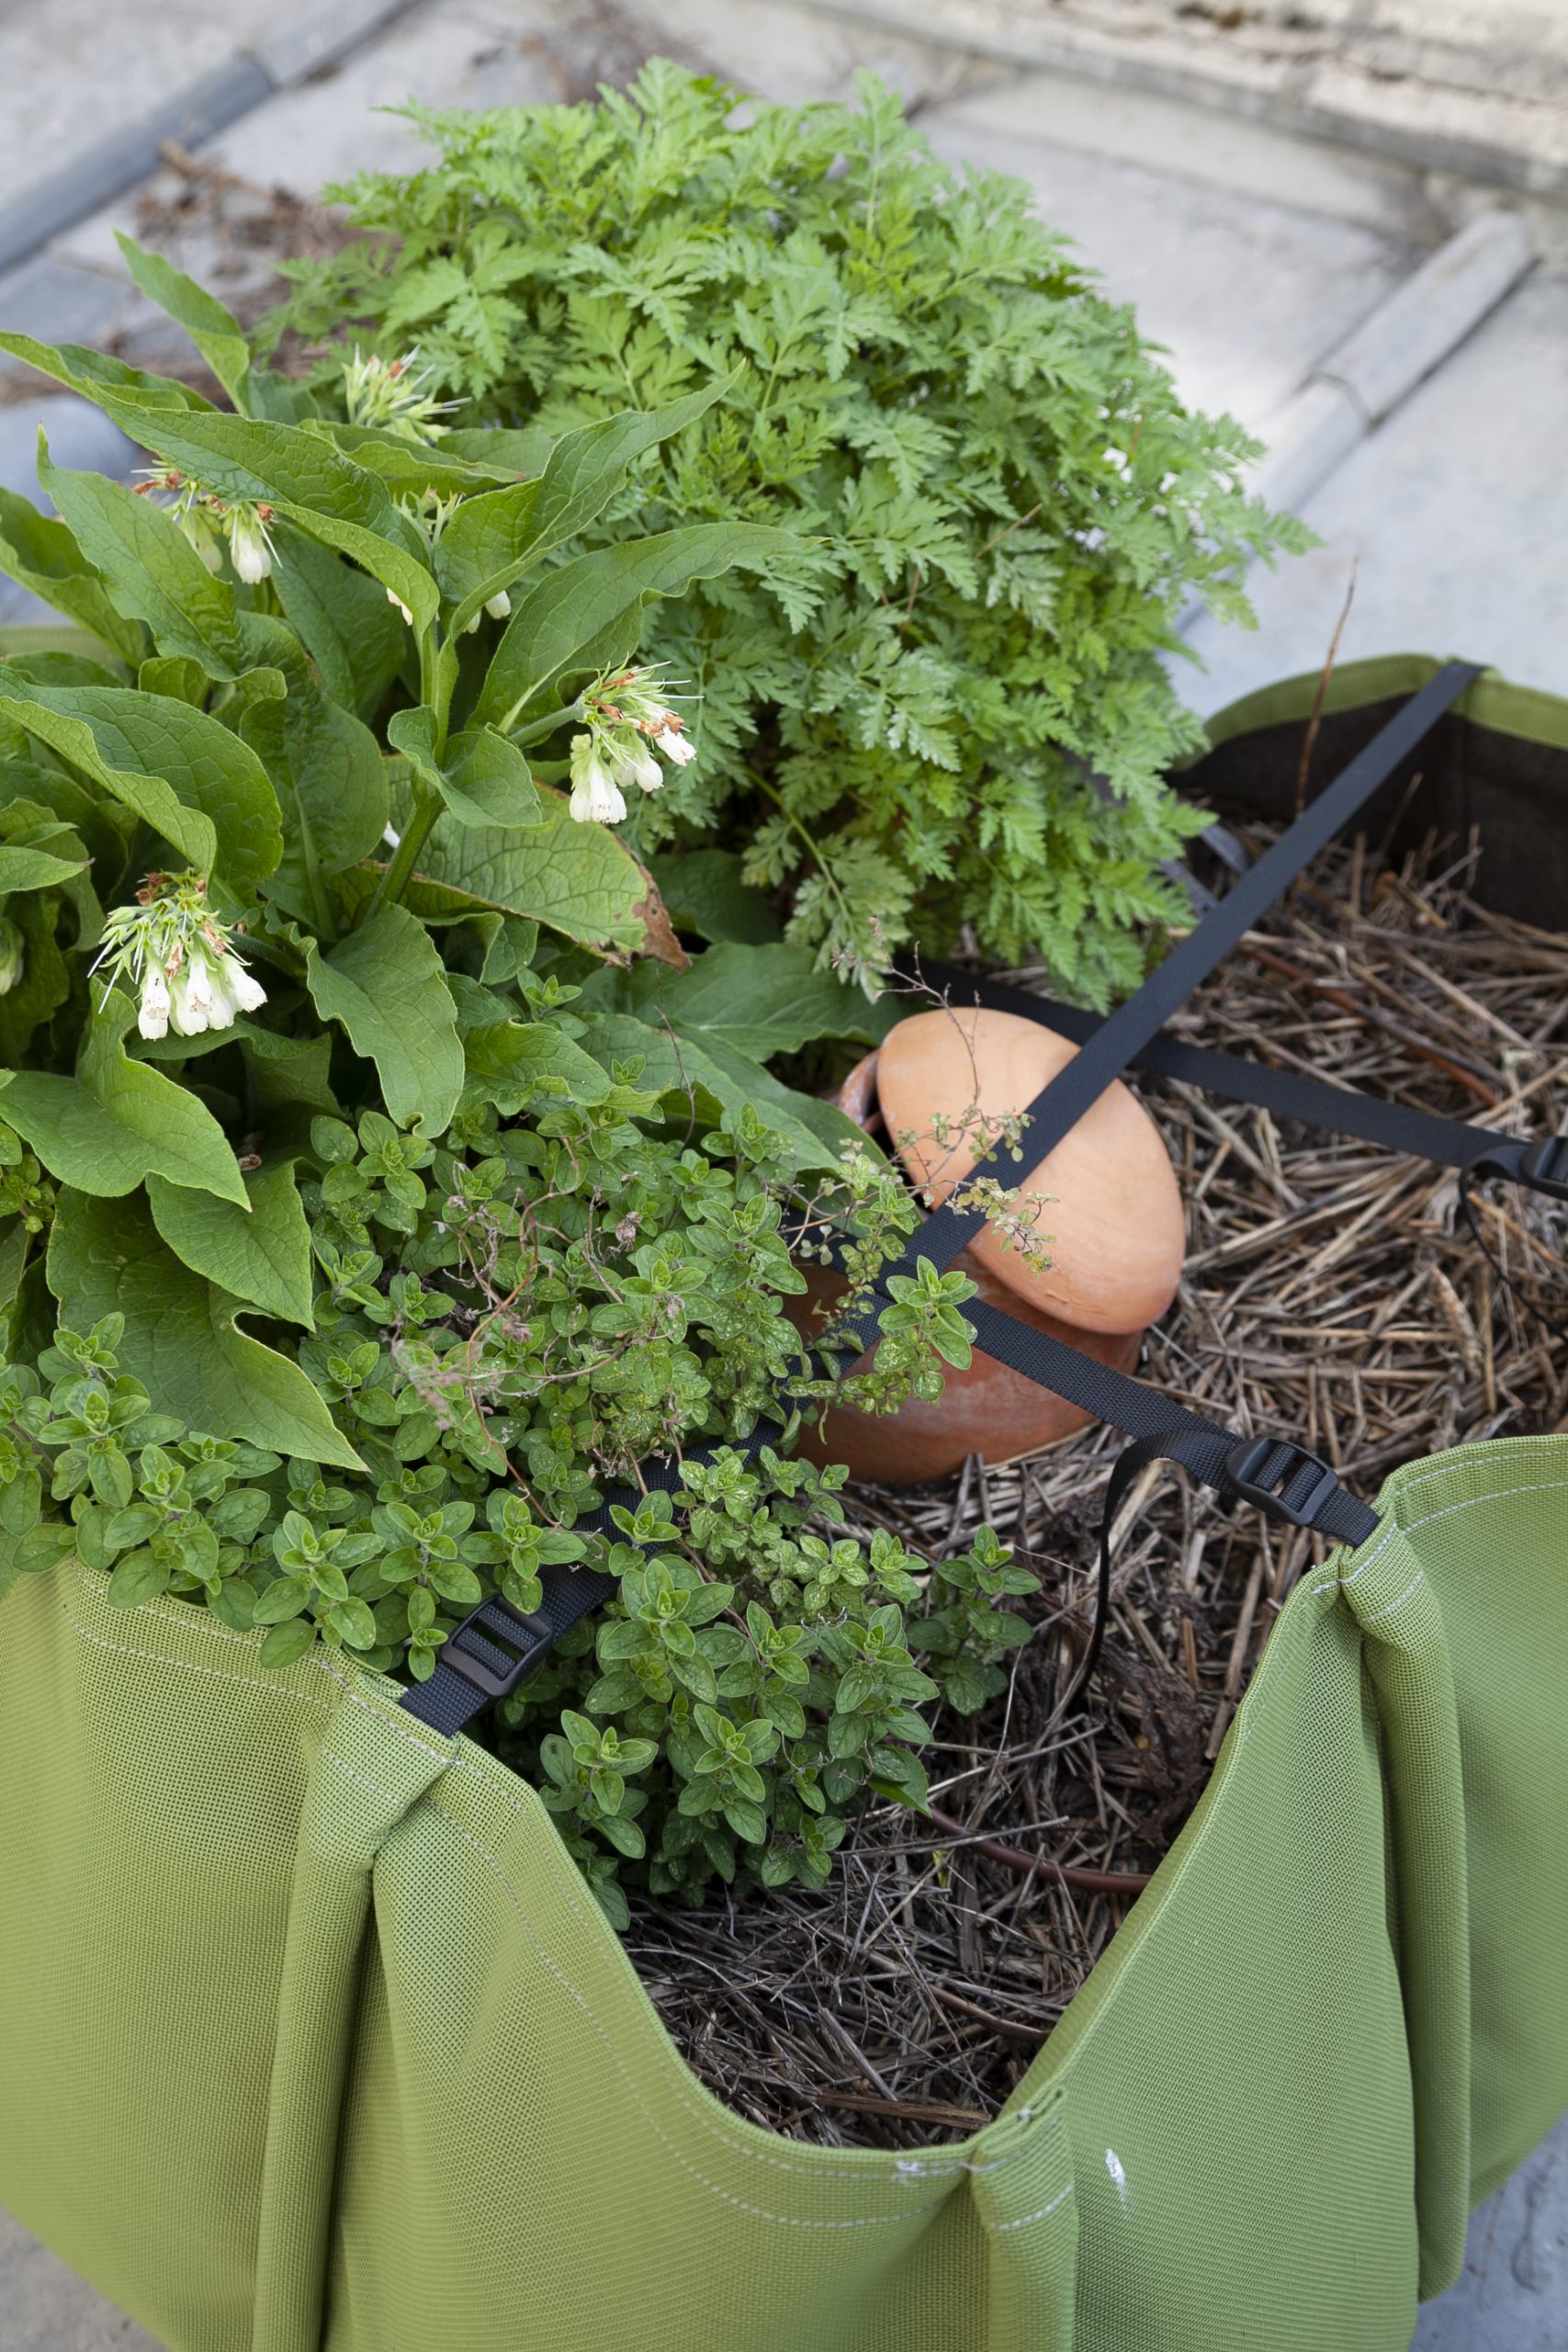
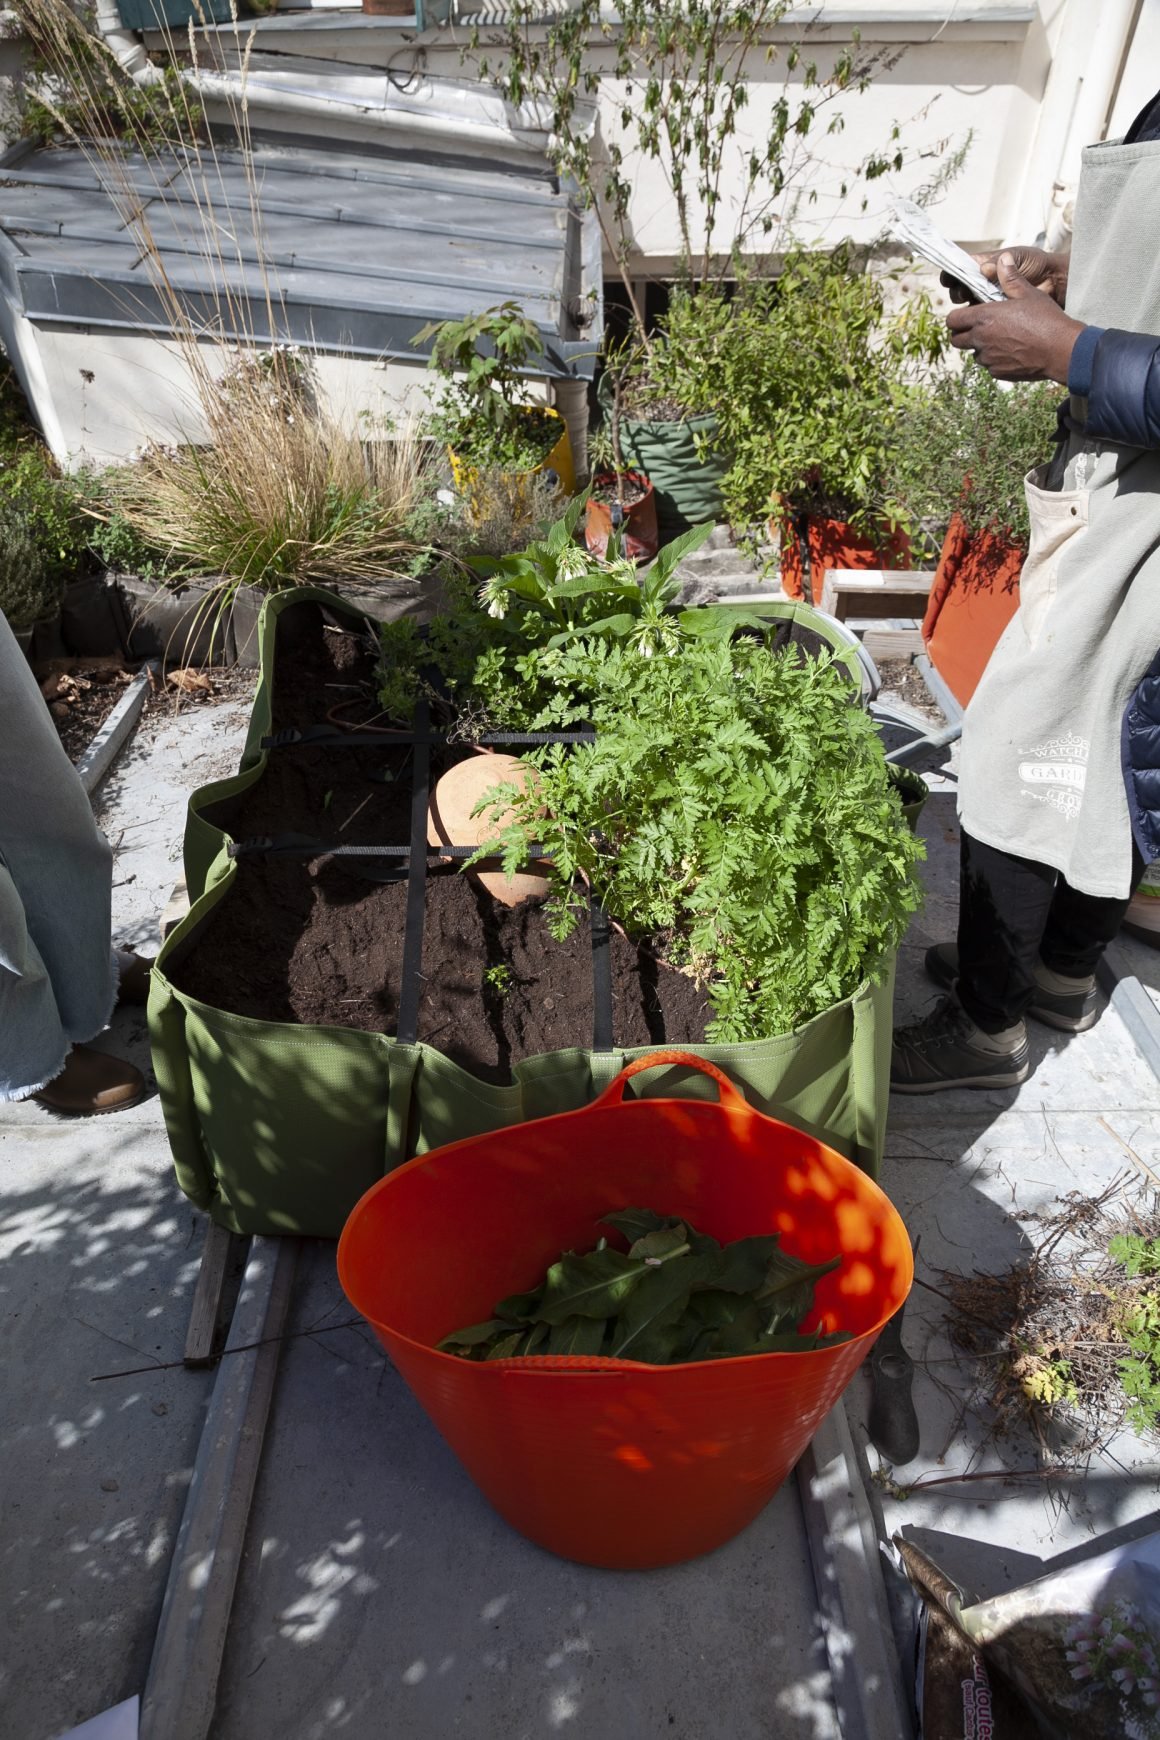
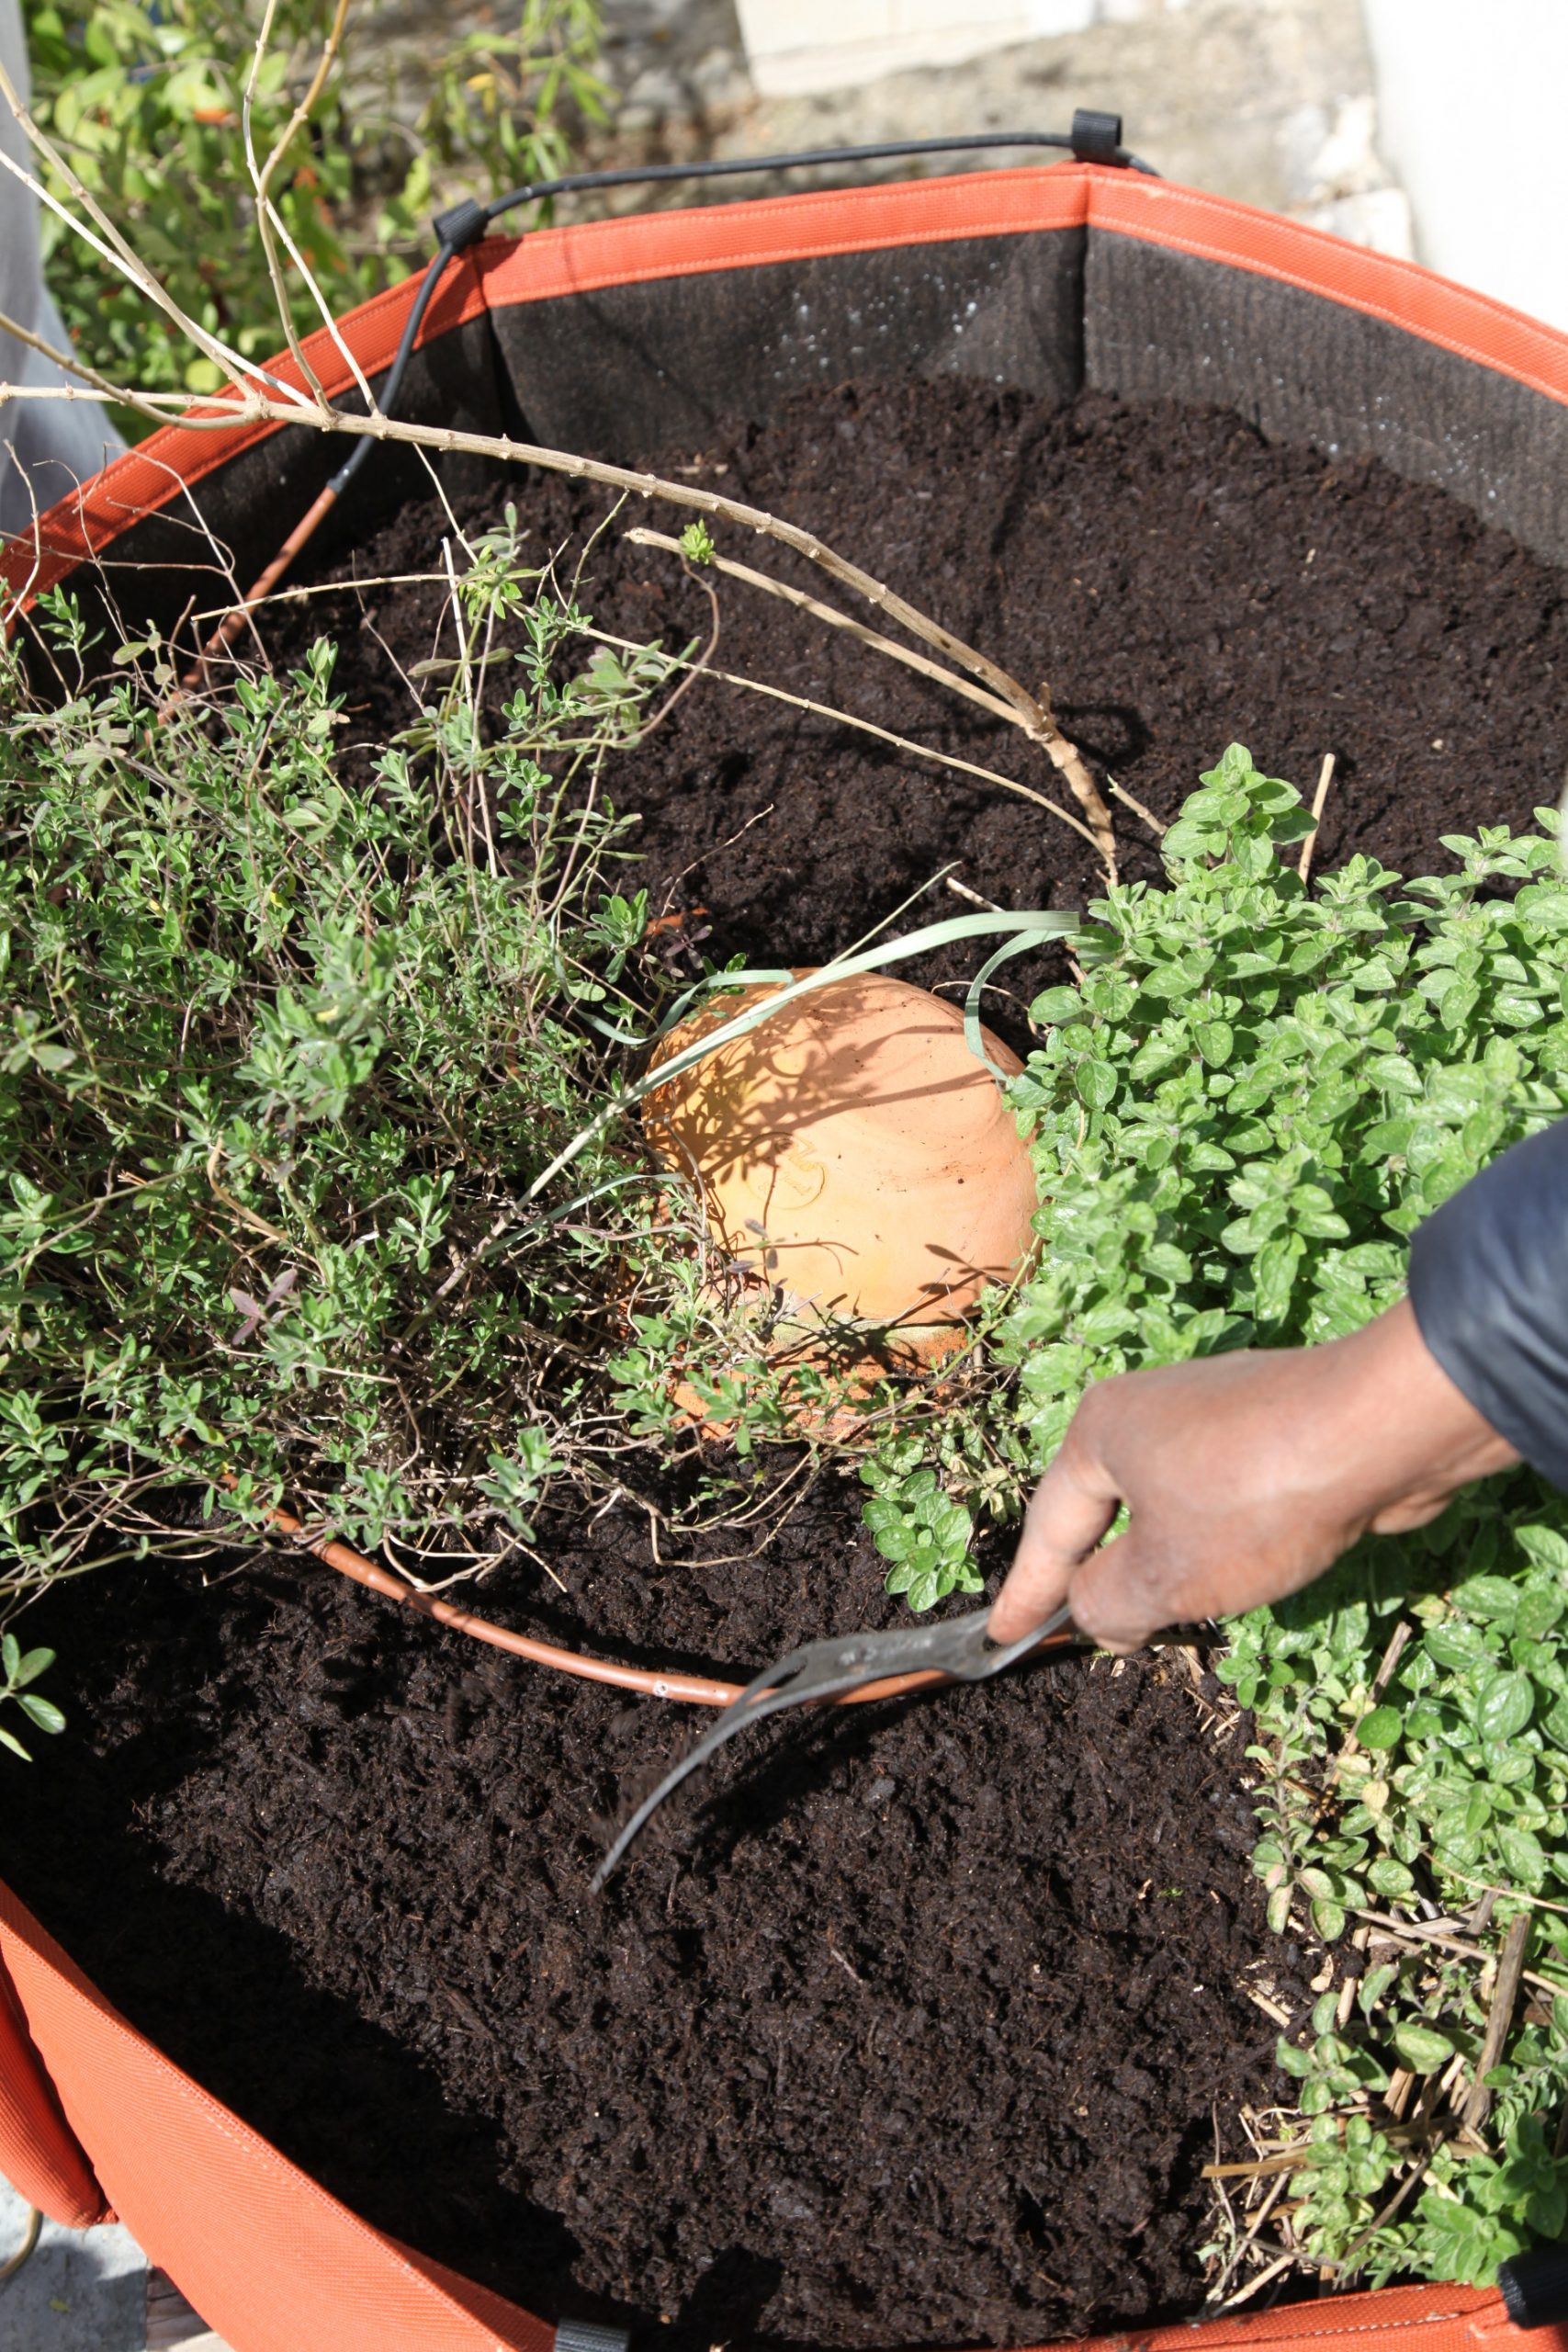
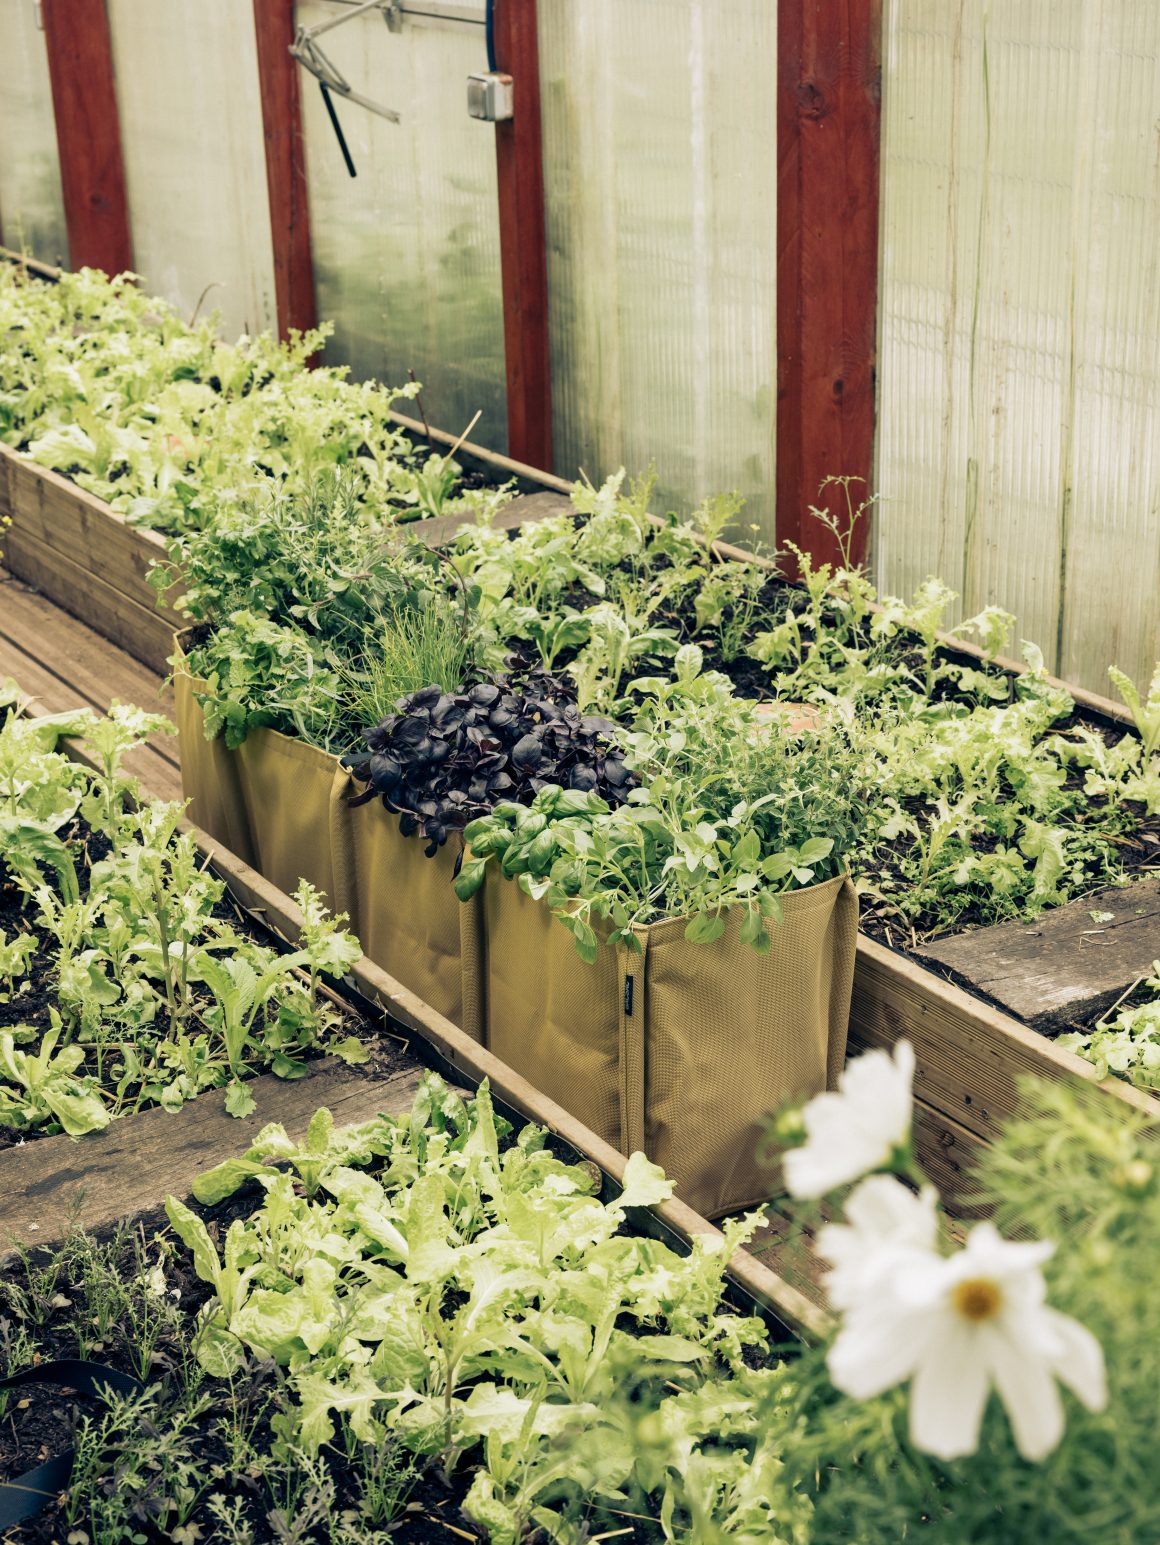
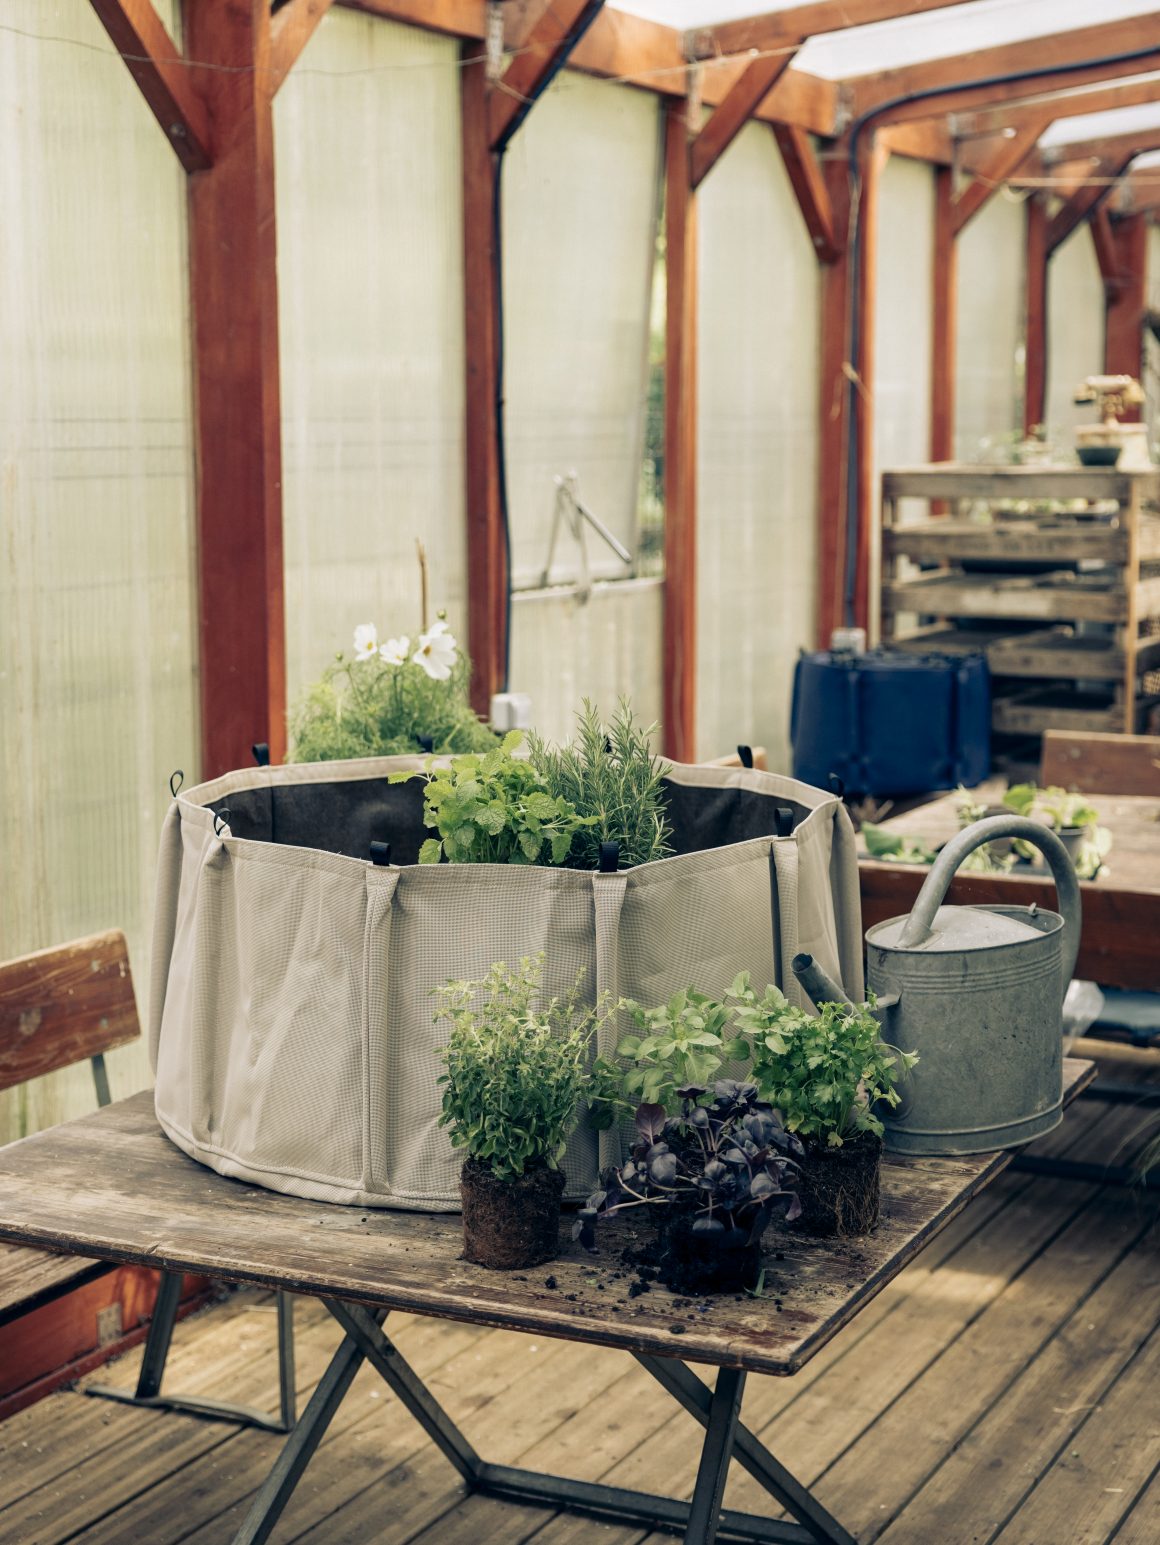
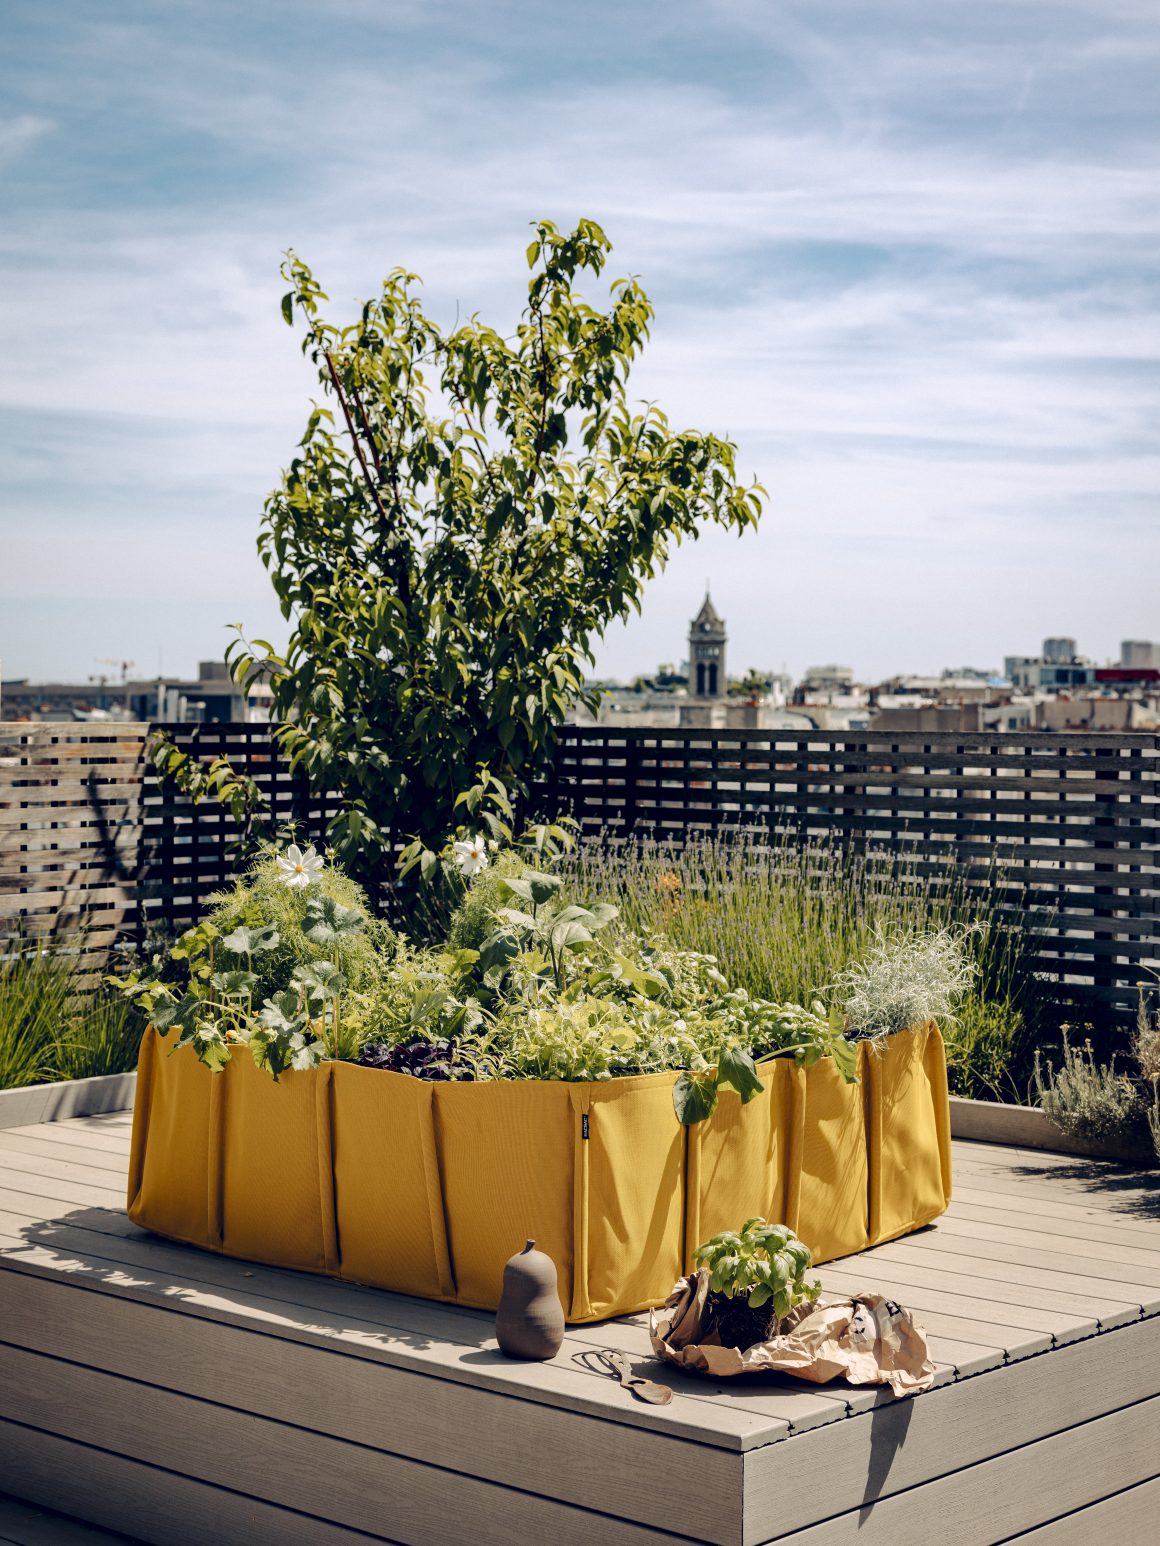
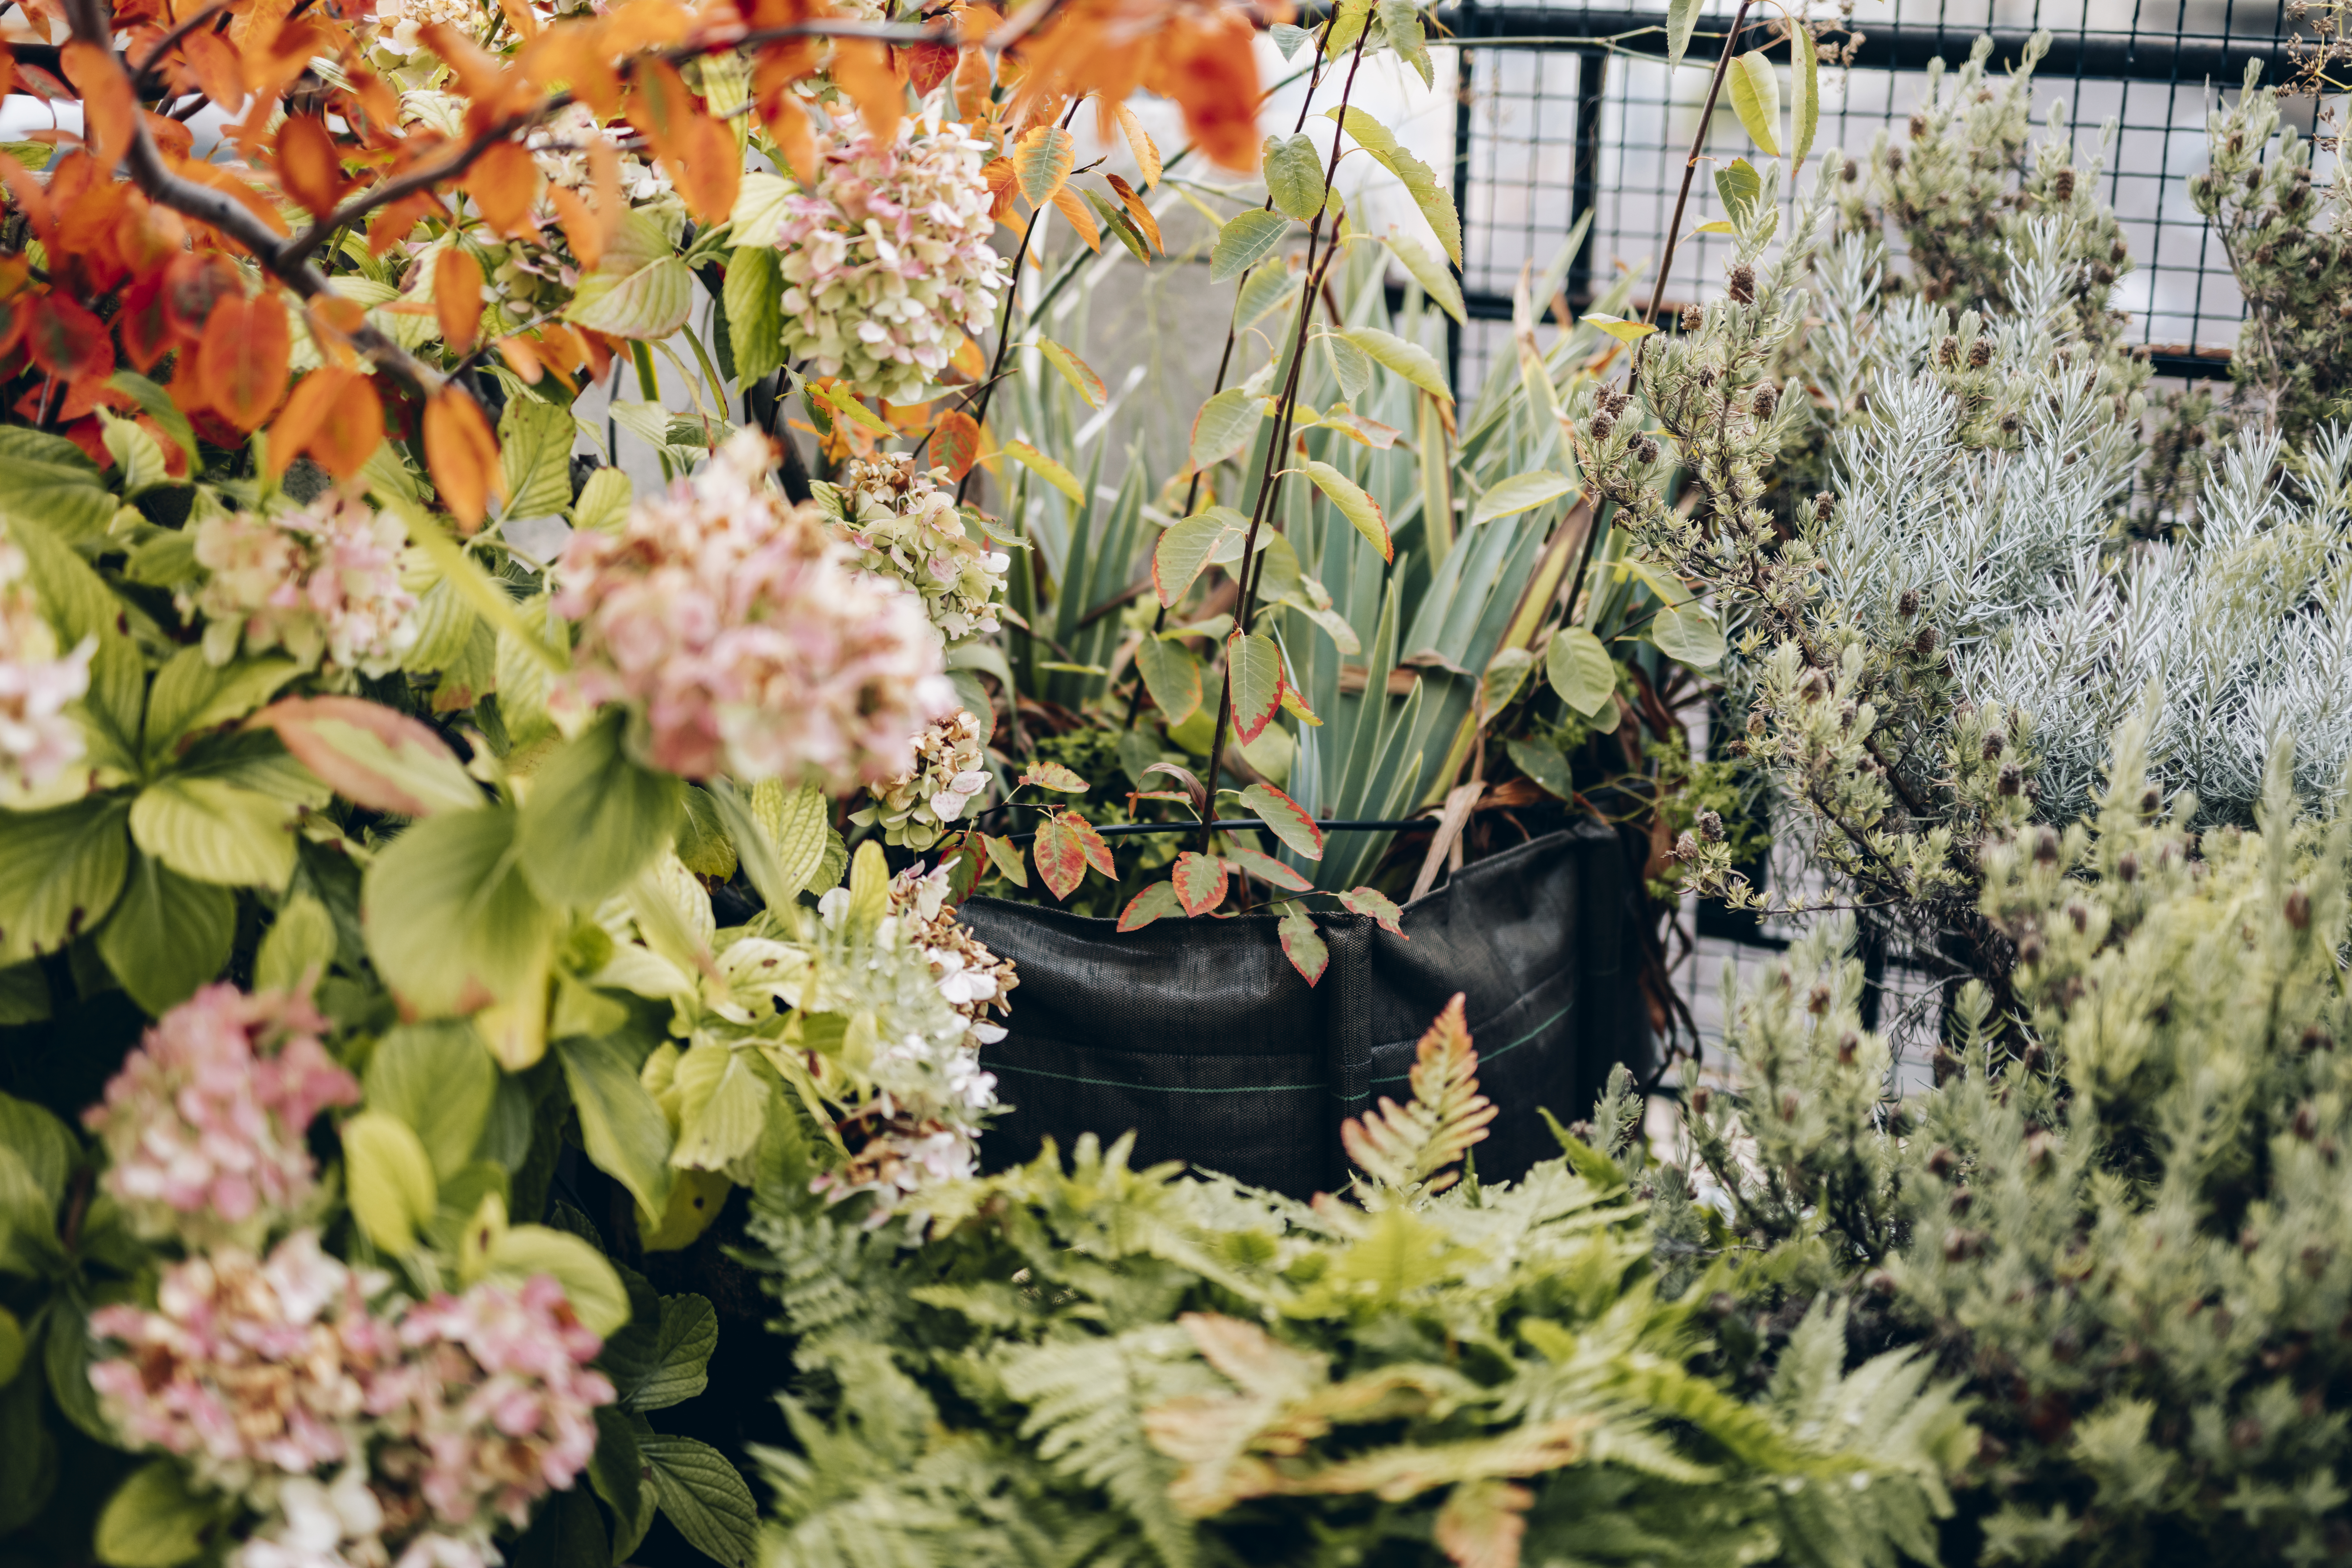
If you plan to grow tomatoes in containers, use pots or planters that are at least 30 cm deep. The larger the container, the more potting soil the tomato can use to develop its root system and thus take more nutrients from the soil. Depending on your available space, here are the BACSAC models that are best suited to growing tomatoes: 25L,, 50L, 100L round classic pots, BACLONG planters, BACROUND round raised garden beds, BACSQUARE raised garden beds.
Tune in for our next episode on the cultivation, association and staking of tomato plants.
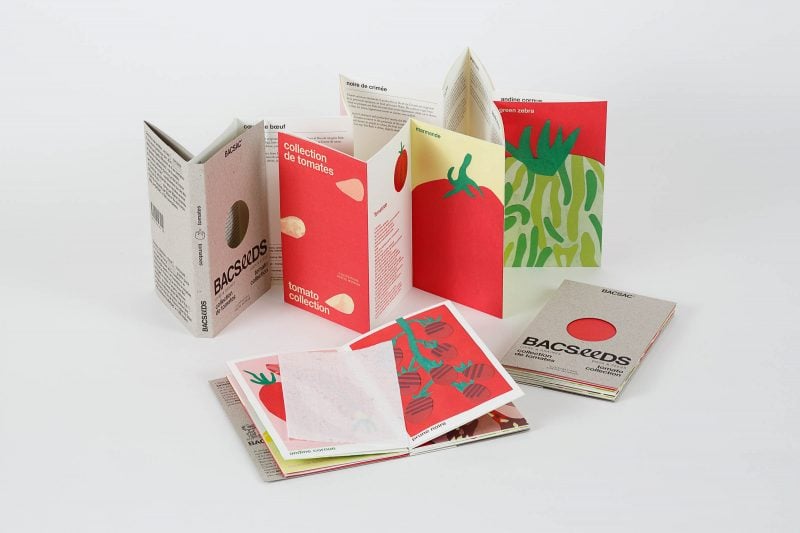
BACSEEDS n°1, TOMATO COLLECTION
Find them on our e-shop BACSAC.com and at our parisian showroom.
📸 Marion Lihoreau & Jérôme Galland







1 comment
Hi my family member! I want to sayy that this article iis amazing, great wriitten annd
come with almoost alll significant infos. I would like to look more posts like this
.